2. Computer-Aided Design
This week, we were tasked with coming up with a rough sketch of what we want our final projects to be.
Brainstorm: Final Project Ideas
When thinking about what I want to do for my final project, I decided to come up with something that I can potentially use in future programming with my work in STEM Education. To begin thinking about the problem that is my final project, I started with a brainstorm session. In this session, me and two of my colleagues that are doing this course with me and the following are just some of the ideas we had:
- A plant pot with sensors for moisture, light, and conductivity that will help plant owners stay around the plants optimal conditions. The idea is that the user can input what plant they have and its needs, press begin, and the pot will do the rest. It will have different colored LED lights for each condition, each with 3 different brightness settings- the brighter the light, the more urgently your plant needs that supplement.
-Taking the idea of the Biomaker Hand and stepping it up by adding more dynamic motor movements and adding movement in the wrist. The capabilities of the hand as of now is sufficient for some letters of the ASL alphabet, but not all- this makes sign language very difficult for people who also need prosthetic hands.
Research
To research this week, I consulted with my colleague Nikki Stancampiano and she helped me work through how to use Onshape. I also researched mostly by diving straight in head first and trying out all of the features that Onshape has. I find that I learn best by doing most of the time, so I like to give things a try before I give up and ask for help.
Useful links
OnShape
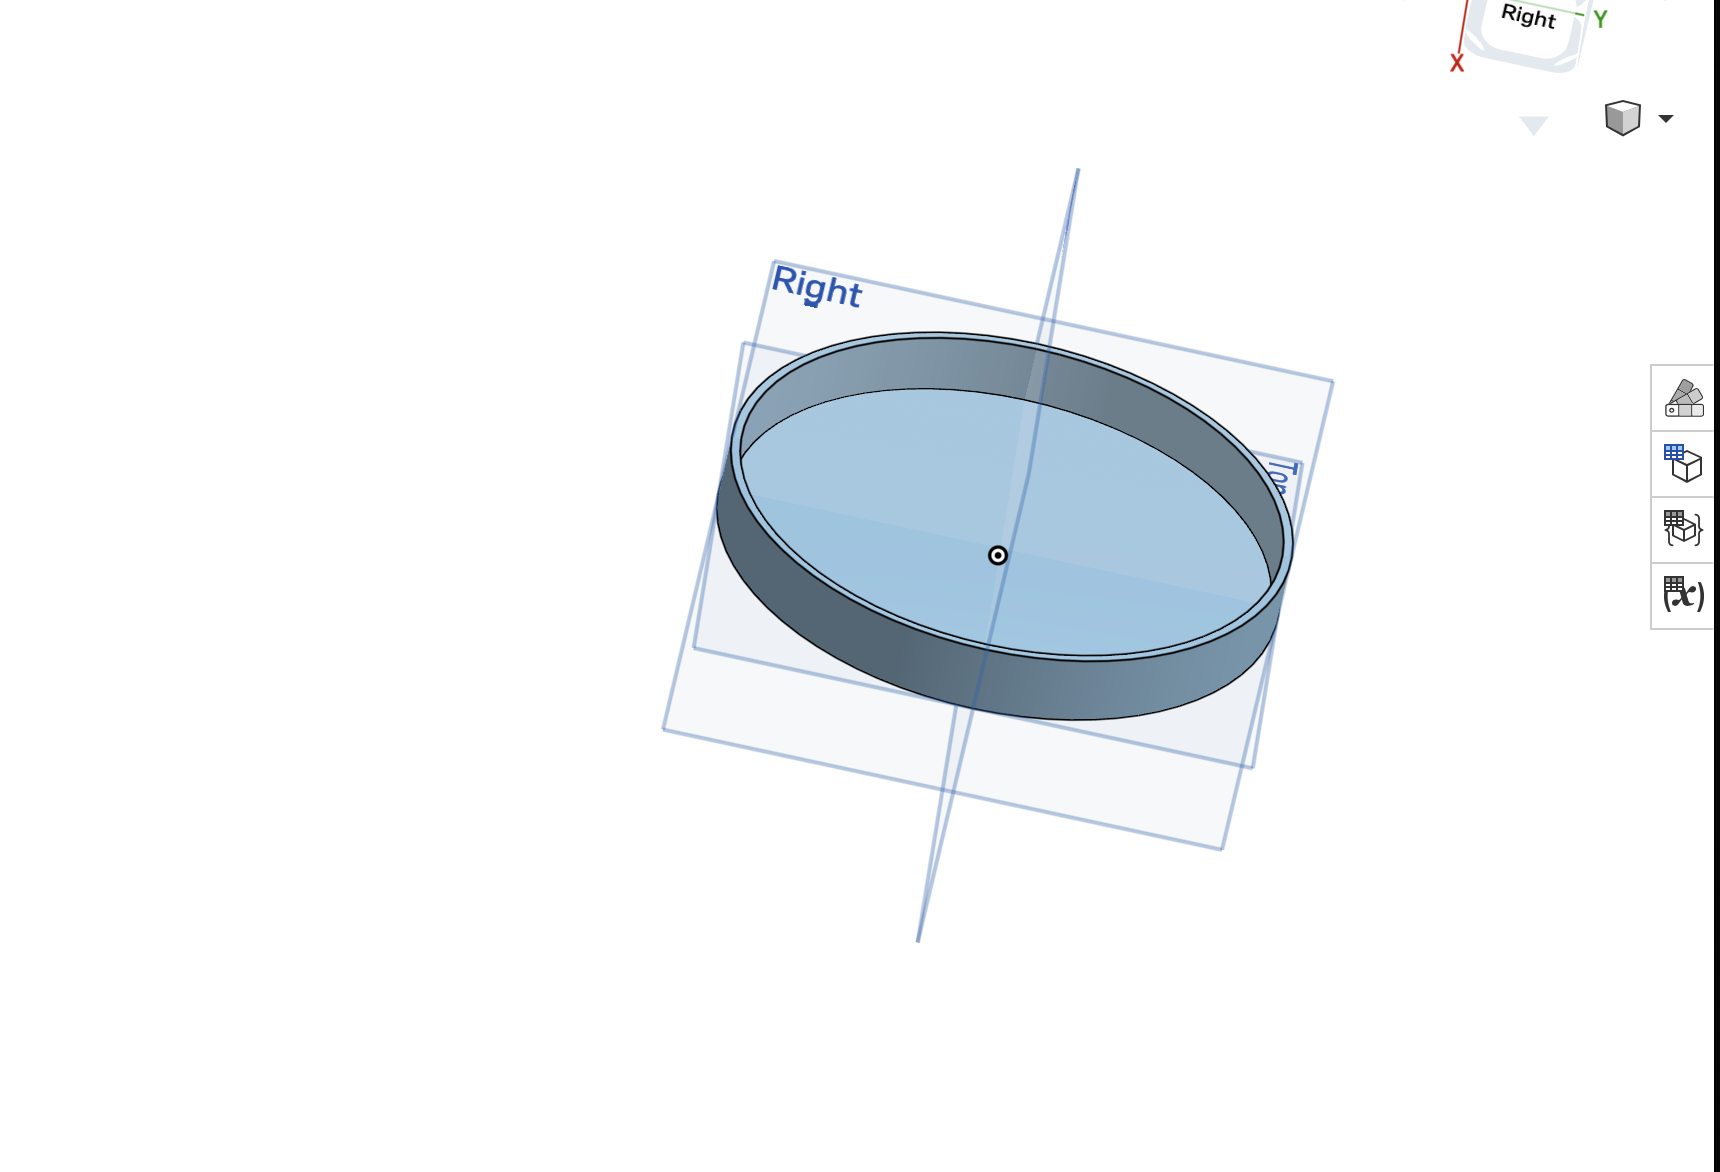
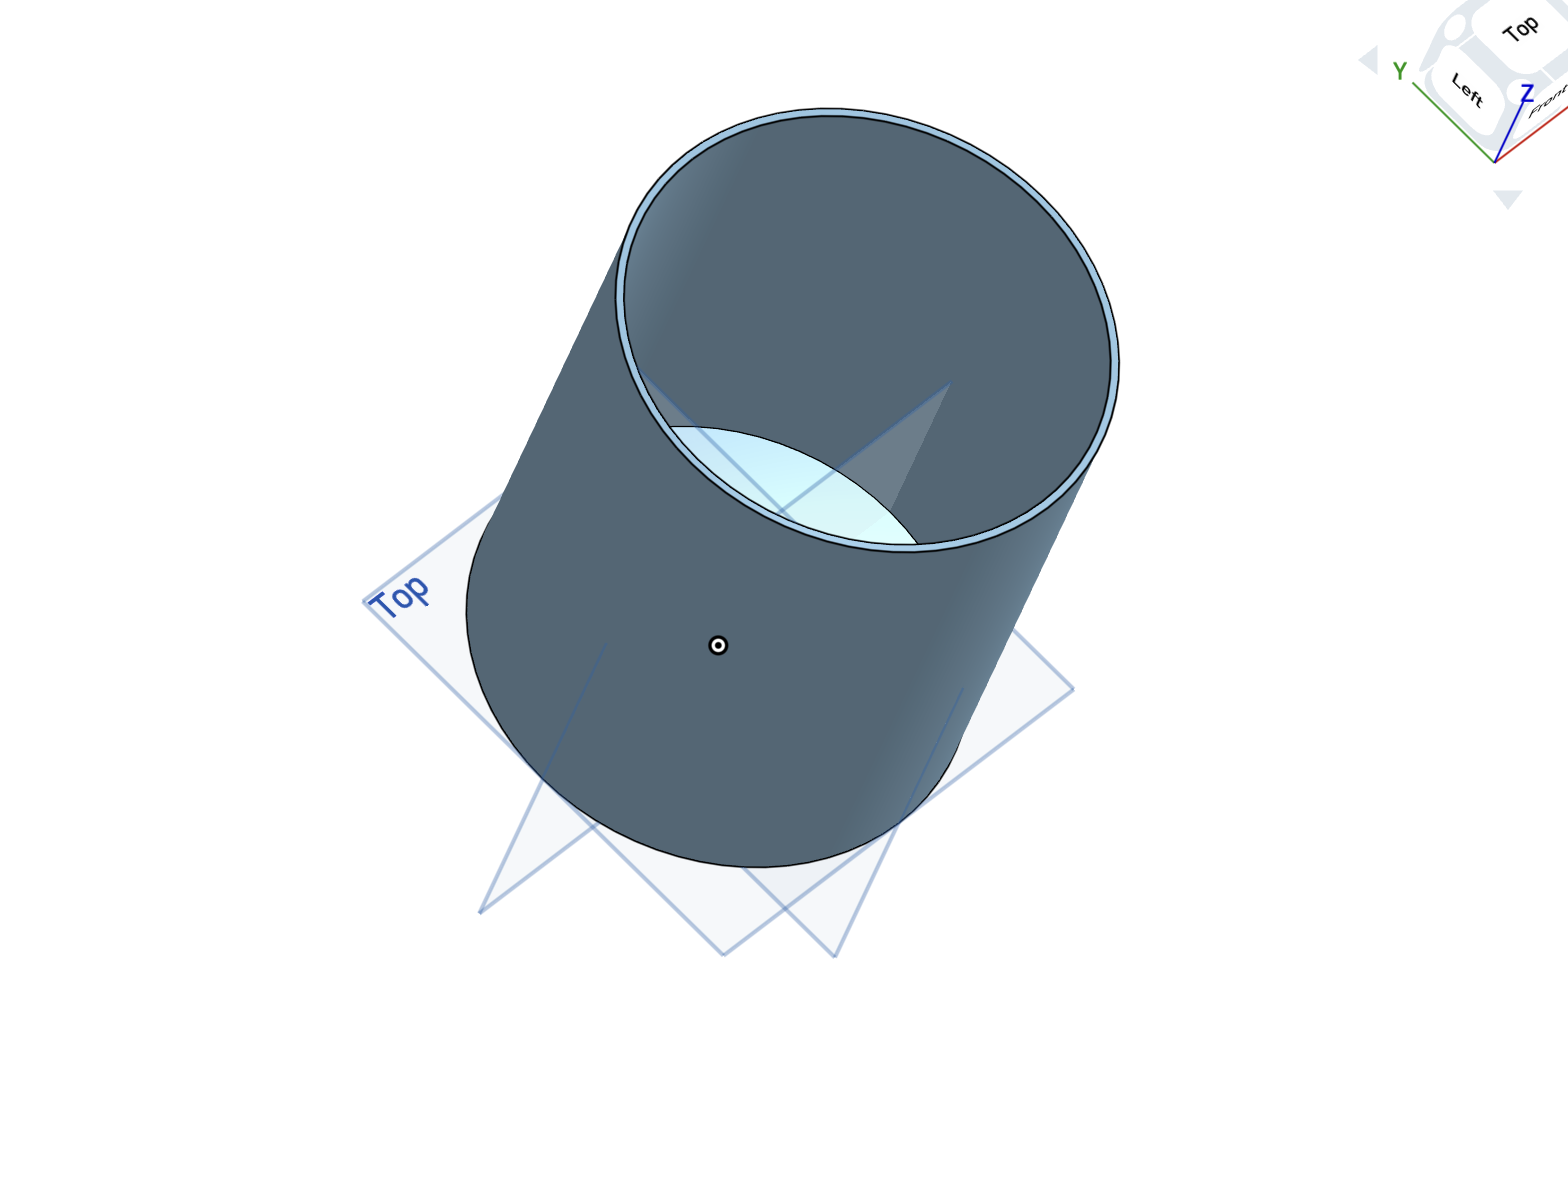
To get started designing my potential final project and to practice Onshape, I first opened their web app. In here, I logged into my Fablab account and selected a new project to work on. From there I added a shape to my working space and selected the top view to sketch on. In Onshape, there are many sketch tools that can help you as you're working such as the center drawn circle or rectangle, the line functions, dimension tools, etc.
The following images are after I drew each part in separate workspaces, then used the extrusion tool to help make then 3-dimensional.
3D Images
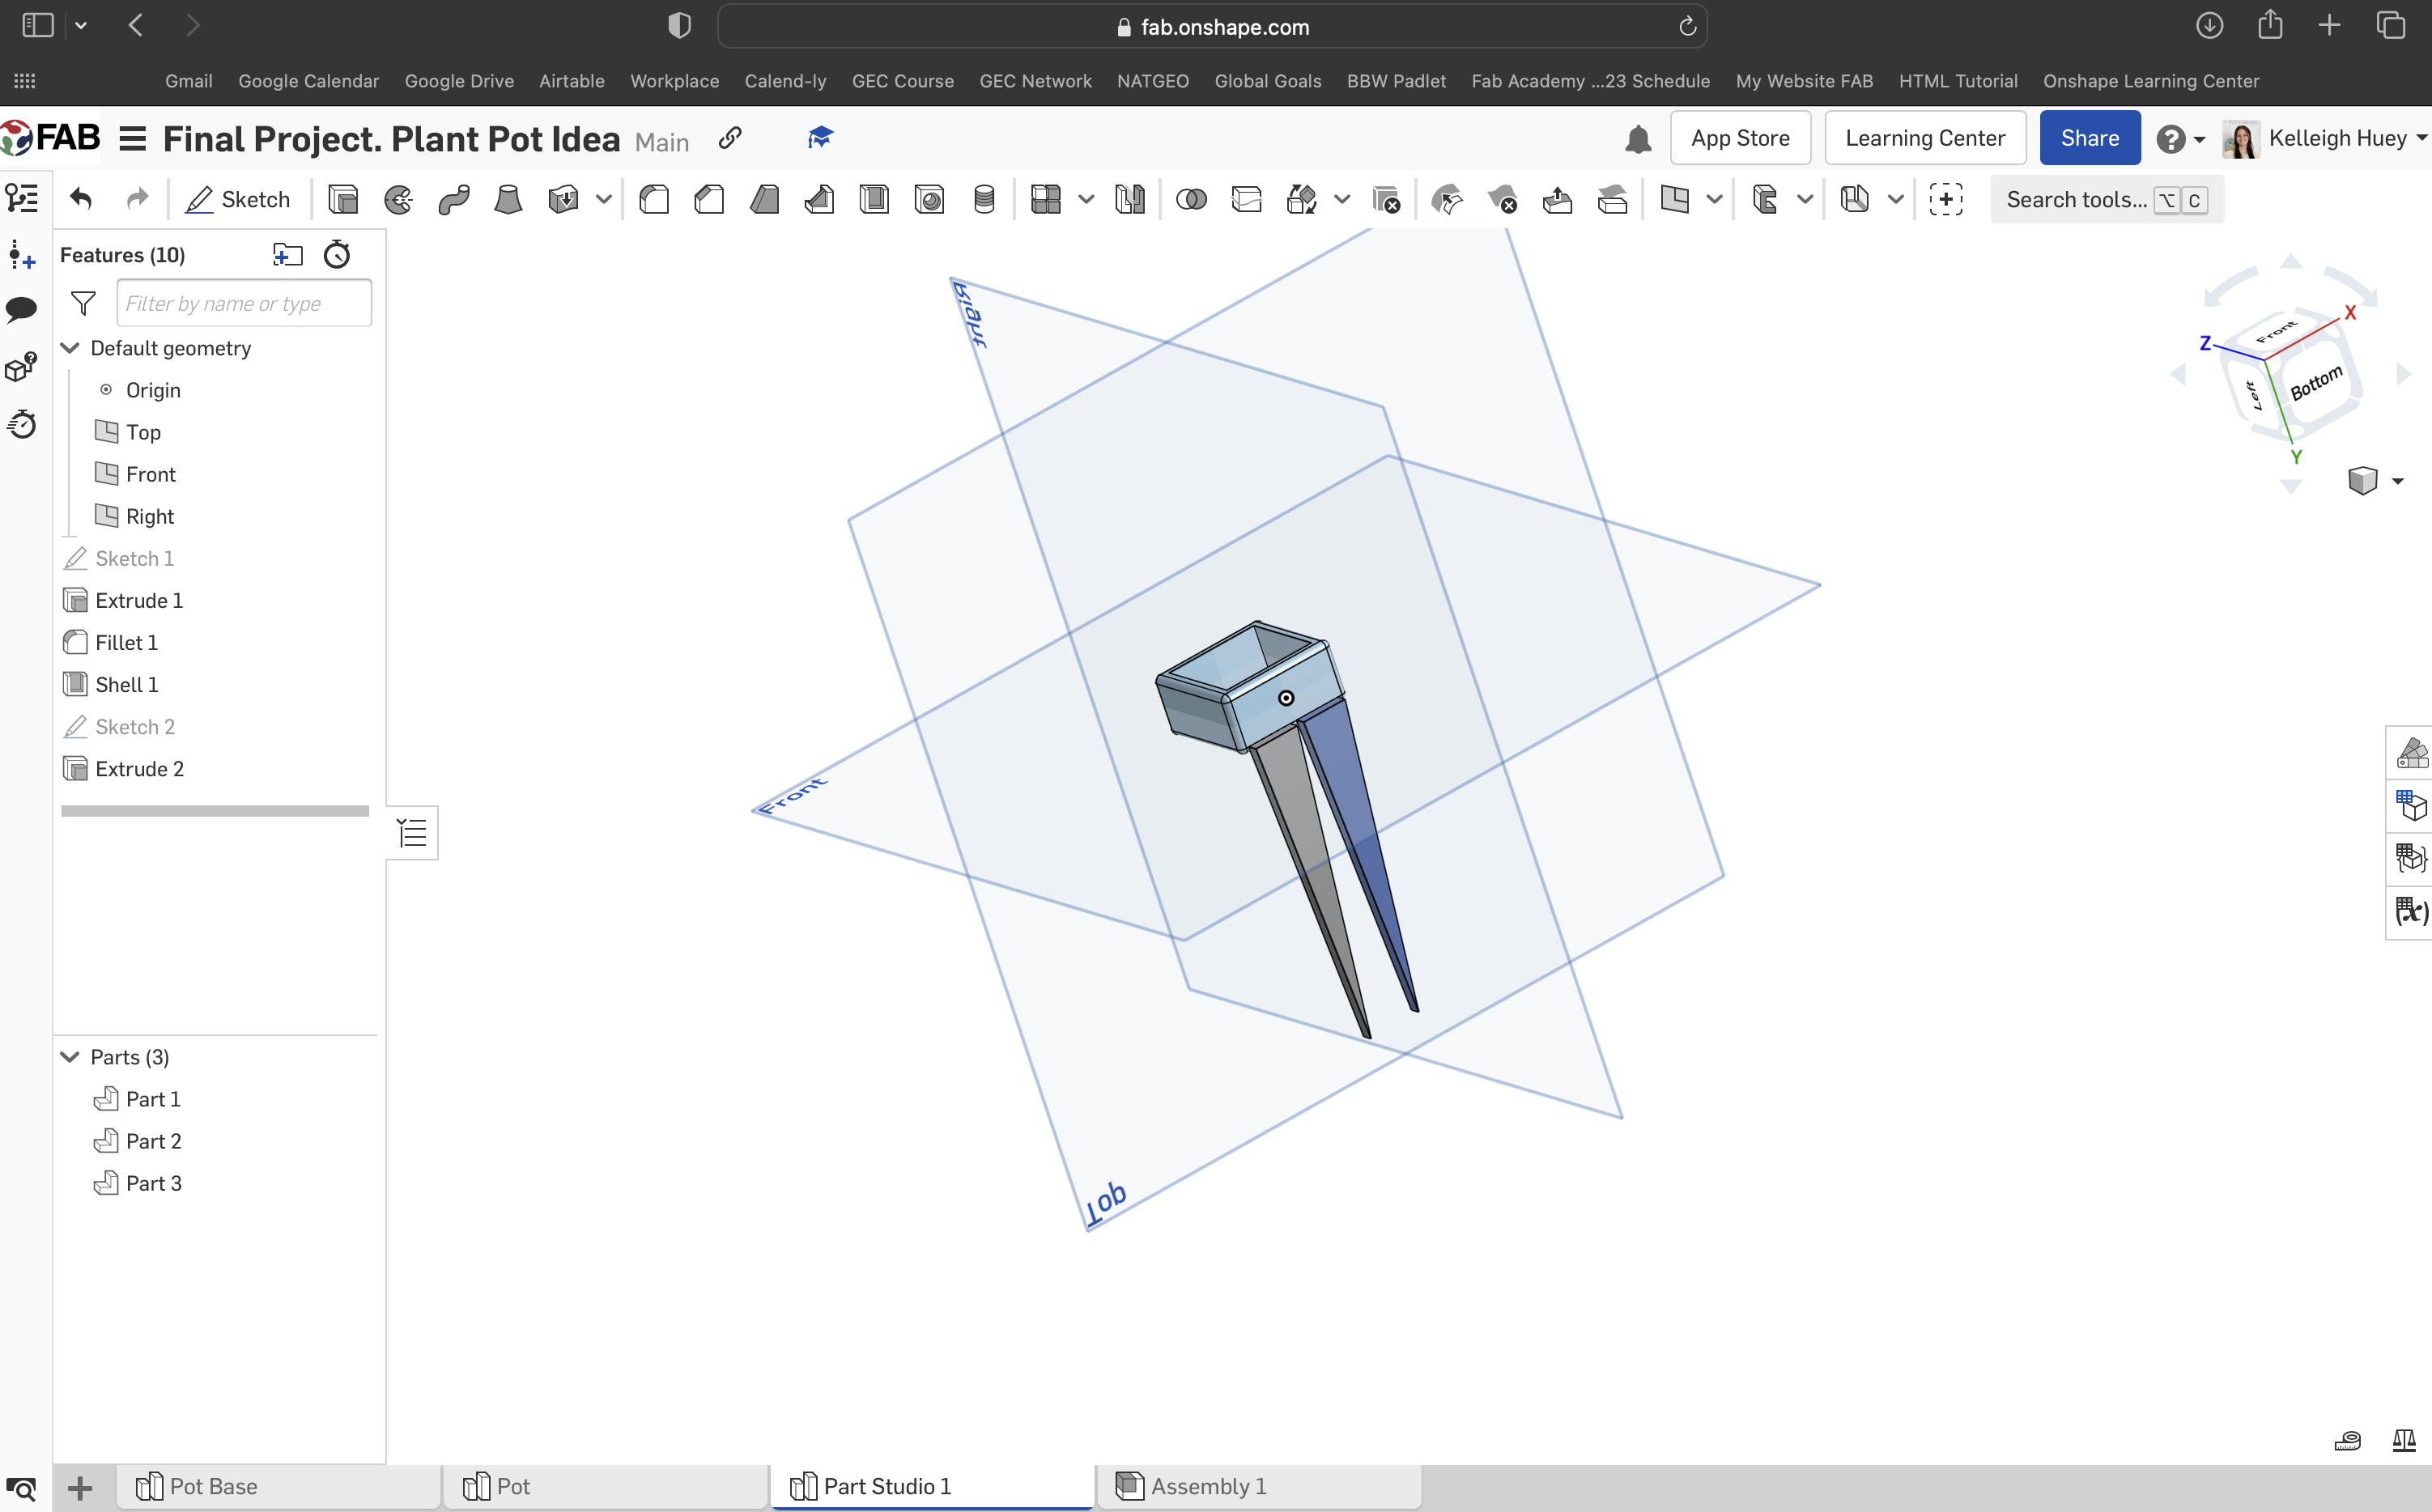
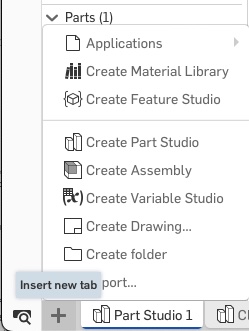
After making each part, I made another tab for assembly. In here, I added each part and had to adjust where they each sat relative to the next and on the plane of the current object.
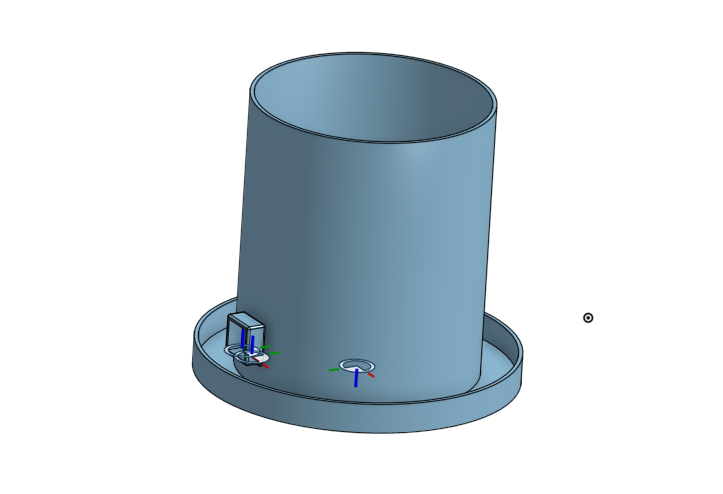
You can find my Onshape design file here.
2D Sketch from Onshape
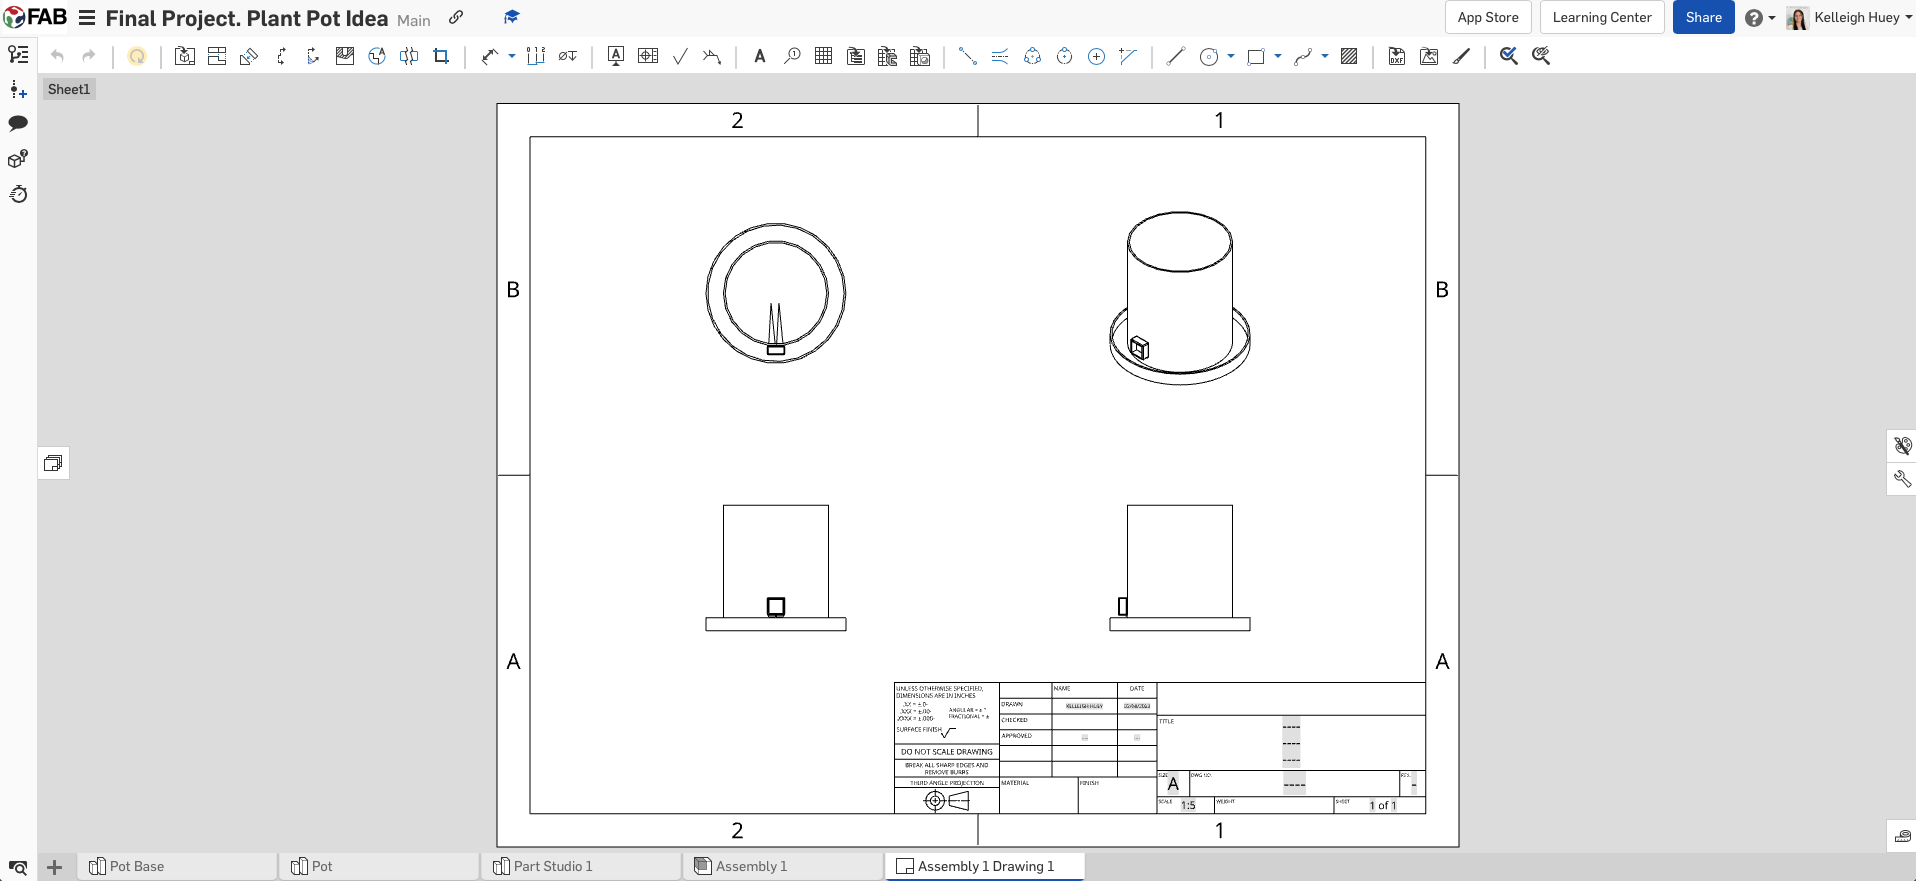
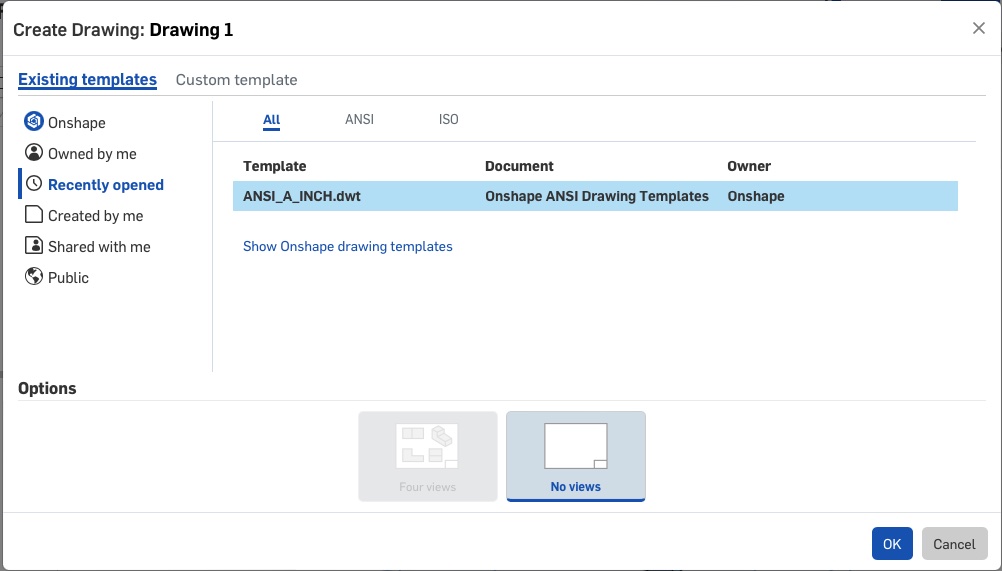
To make a 2D sketch of my design, I used Onshape. This platform is convenient for 2D sketches because you have the ability to transform your 3D part into 2D sketches. To do this, select the "+" in the bottom left corner, then select "Create Drawing...". A pop up comes up; select OK. It will not instruct you to select parts from your parts studios and select a viewpoint. Select the part you would like drawn, select the view, then click to place it on the document page.
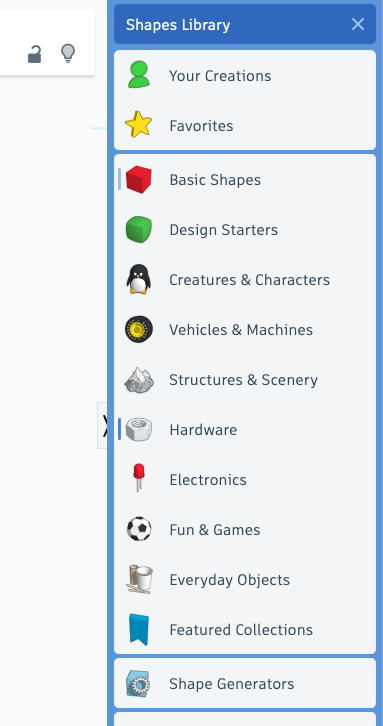
TinkerCAD
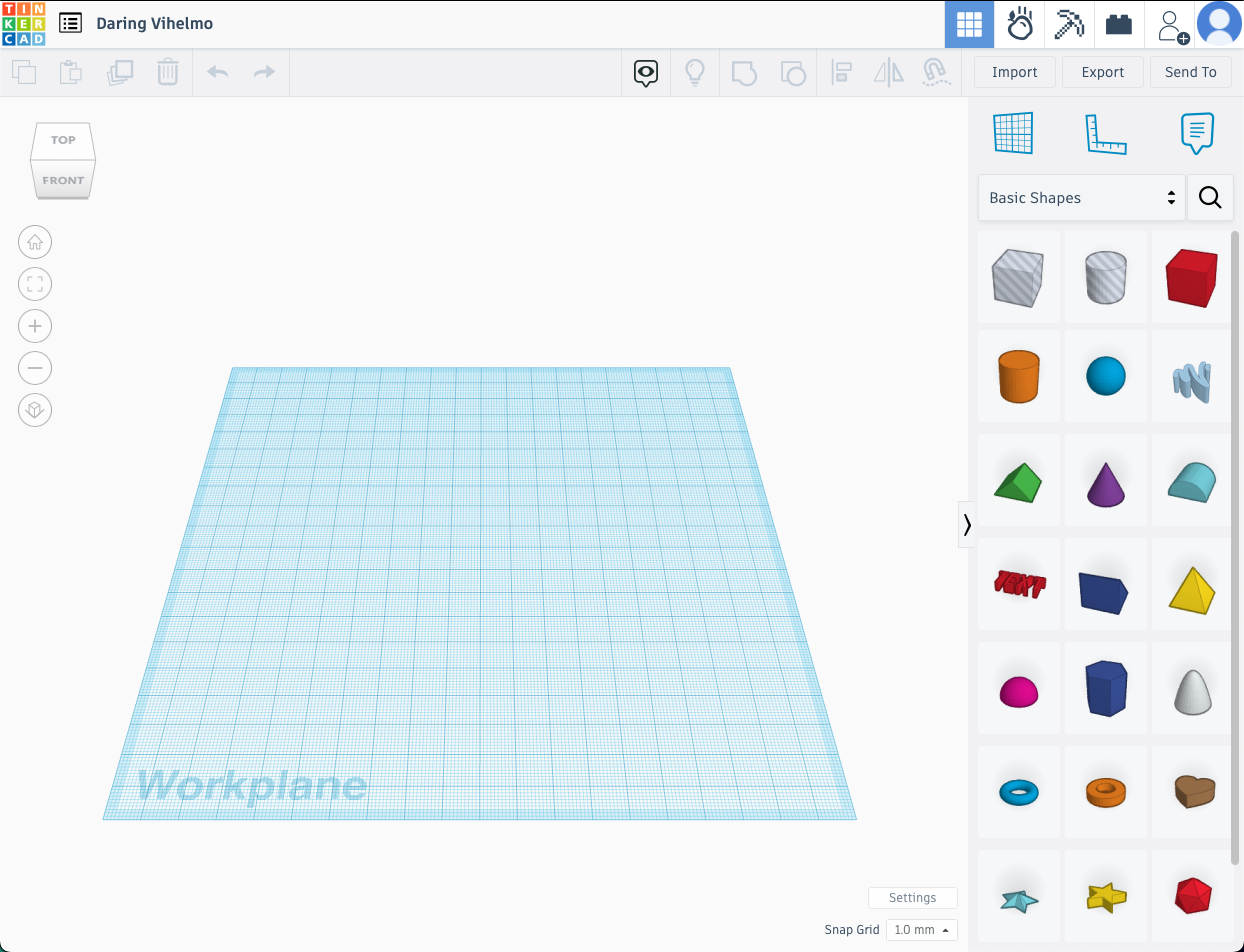
At my work, we do a lot of student programming surrounding CAD and 3D printing. With our younger kiddos, we typically try to give them a basic understanding of how CAD works and what they need to think about when creating a design to be 3D printed, laser cut, etc. To do this, we start them off in TinkerCAD by Autodesk. TinkerCAD is a free web based platform that can be used for building basic 3D design, coding, or even electronics.
We start here with the younger kids because it is a pretty basic platform and you can really only do so much with it. I will create a basic object and go over the process of making it below.
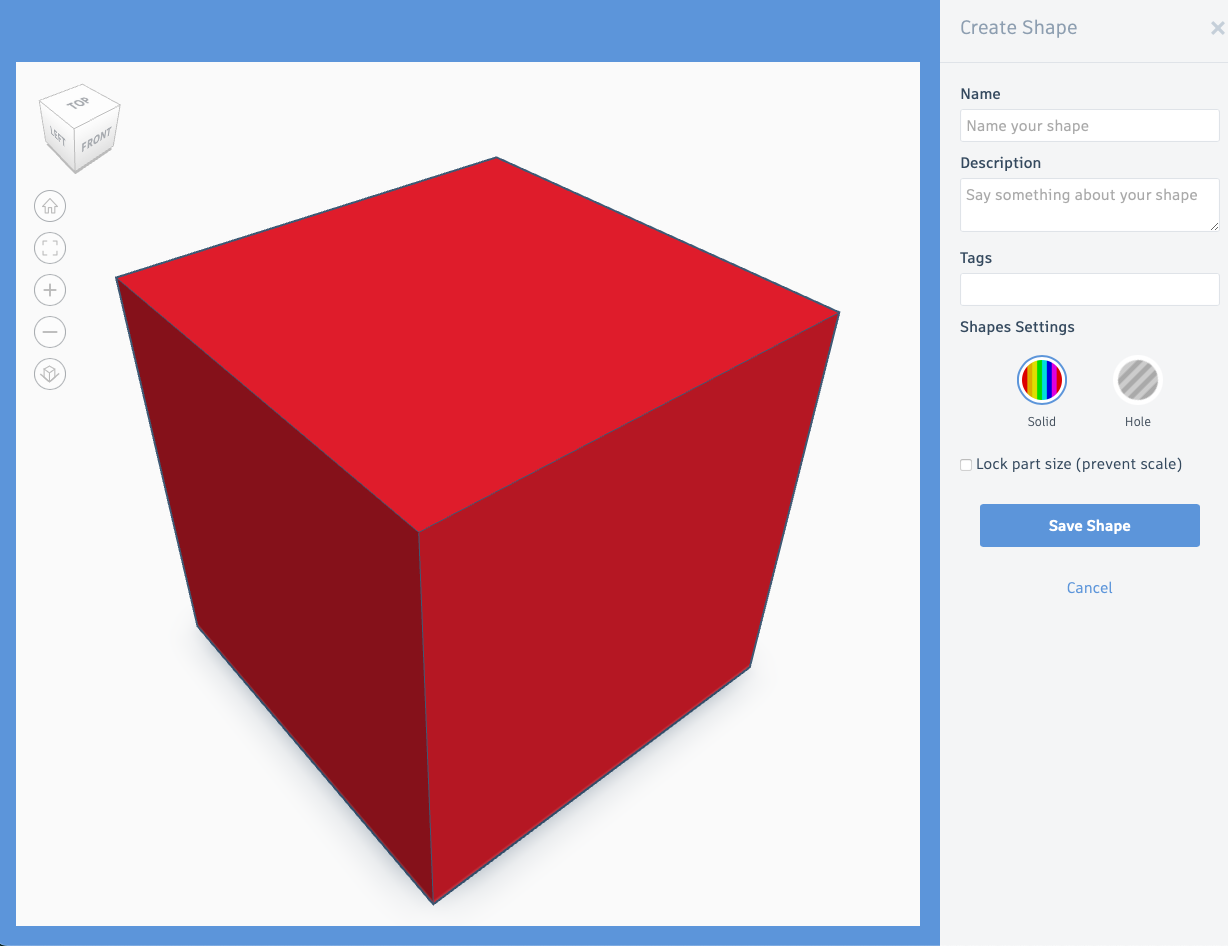
To start, log in or create a free account and then create a new 3D design. When you open a new design, you will see a blank workplane in blue and a toolbar running across the top and right side of the screen. One of the limitations with TinkerCAD is the available shapes you use to create your object. TinkerCAD comes with a set of 3 dimensional shapes you can use together to make a new object. To overcome the limited options, there is an option to create your own shape. This would come in handy if you had a specific shape that was the same across multiple different objects.
In general, if you have the capabilities to use Onshape, I would use that over TinkerCAD. TinkerCAD is a great way to introduce the elements of designing on the computer, but it is not advanced for creating a lot of different objects.
FreeCAD
Another free platform you can use is FreeCAD. I am trying out FreeCAD as another CAD & 3D modeling software to compare to Onshape and TinkerCAD. I will be explaining the process of creating a hollow box, following along with a tutorial I found from All3DP.
To begin, download and install FreeCAD into your applications on your computer. Next, run the program and open it.
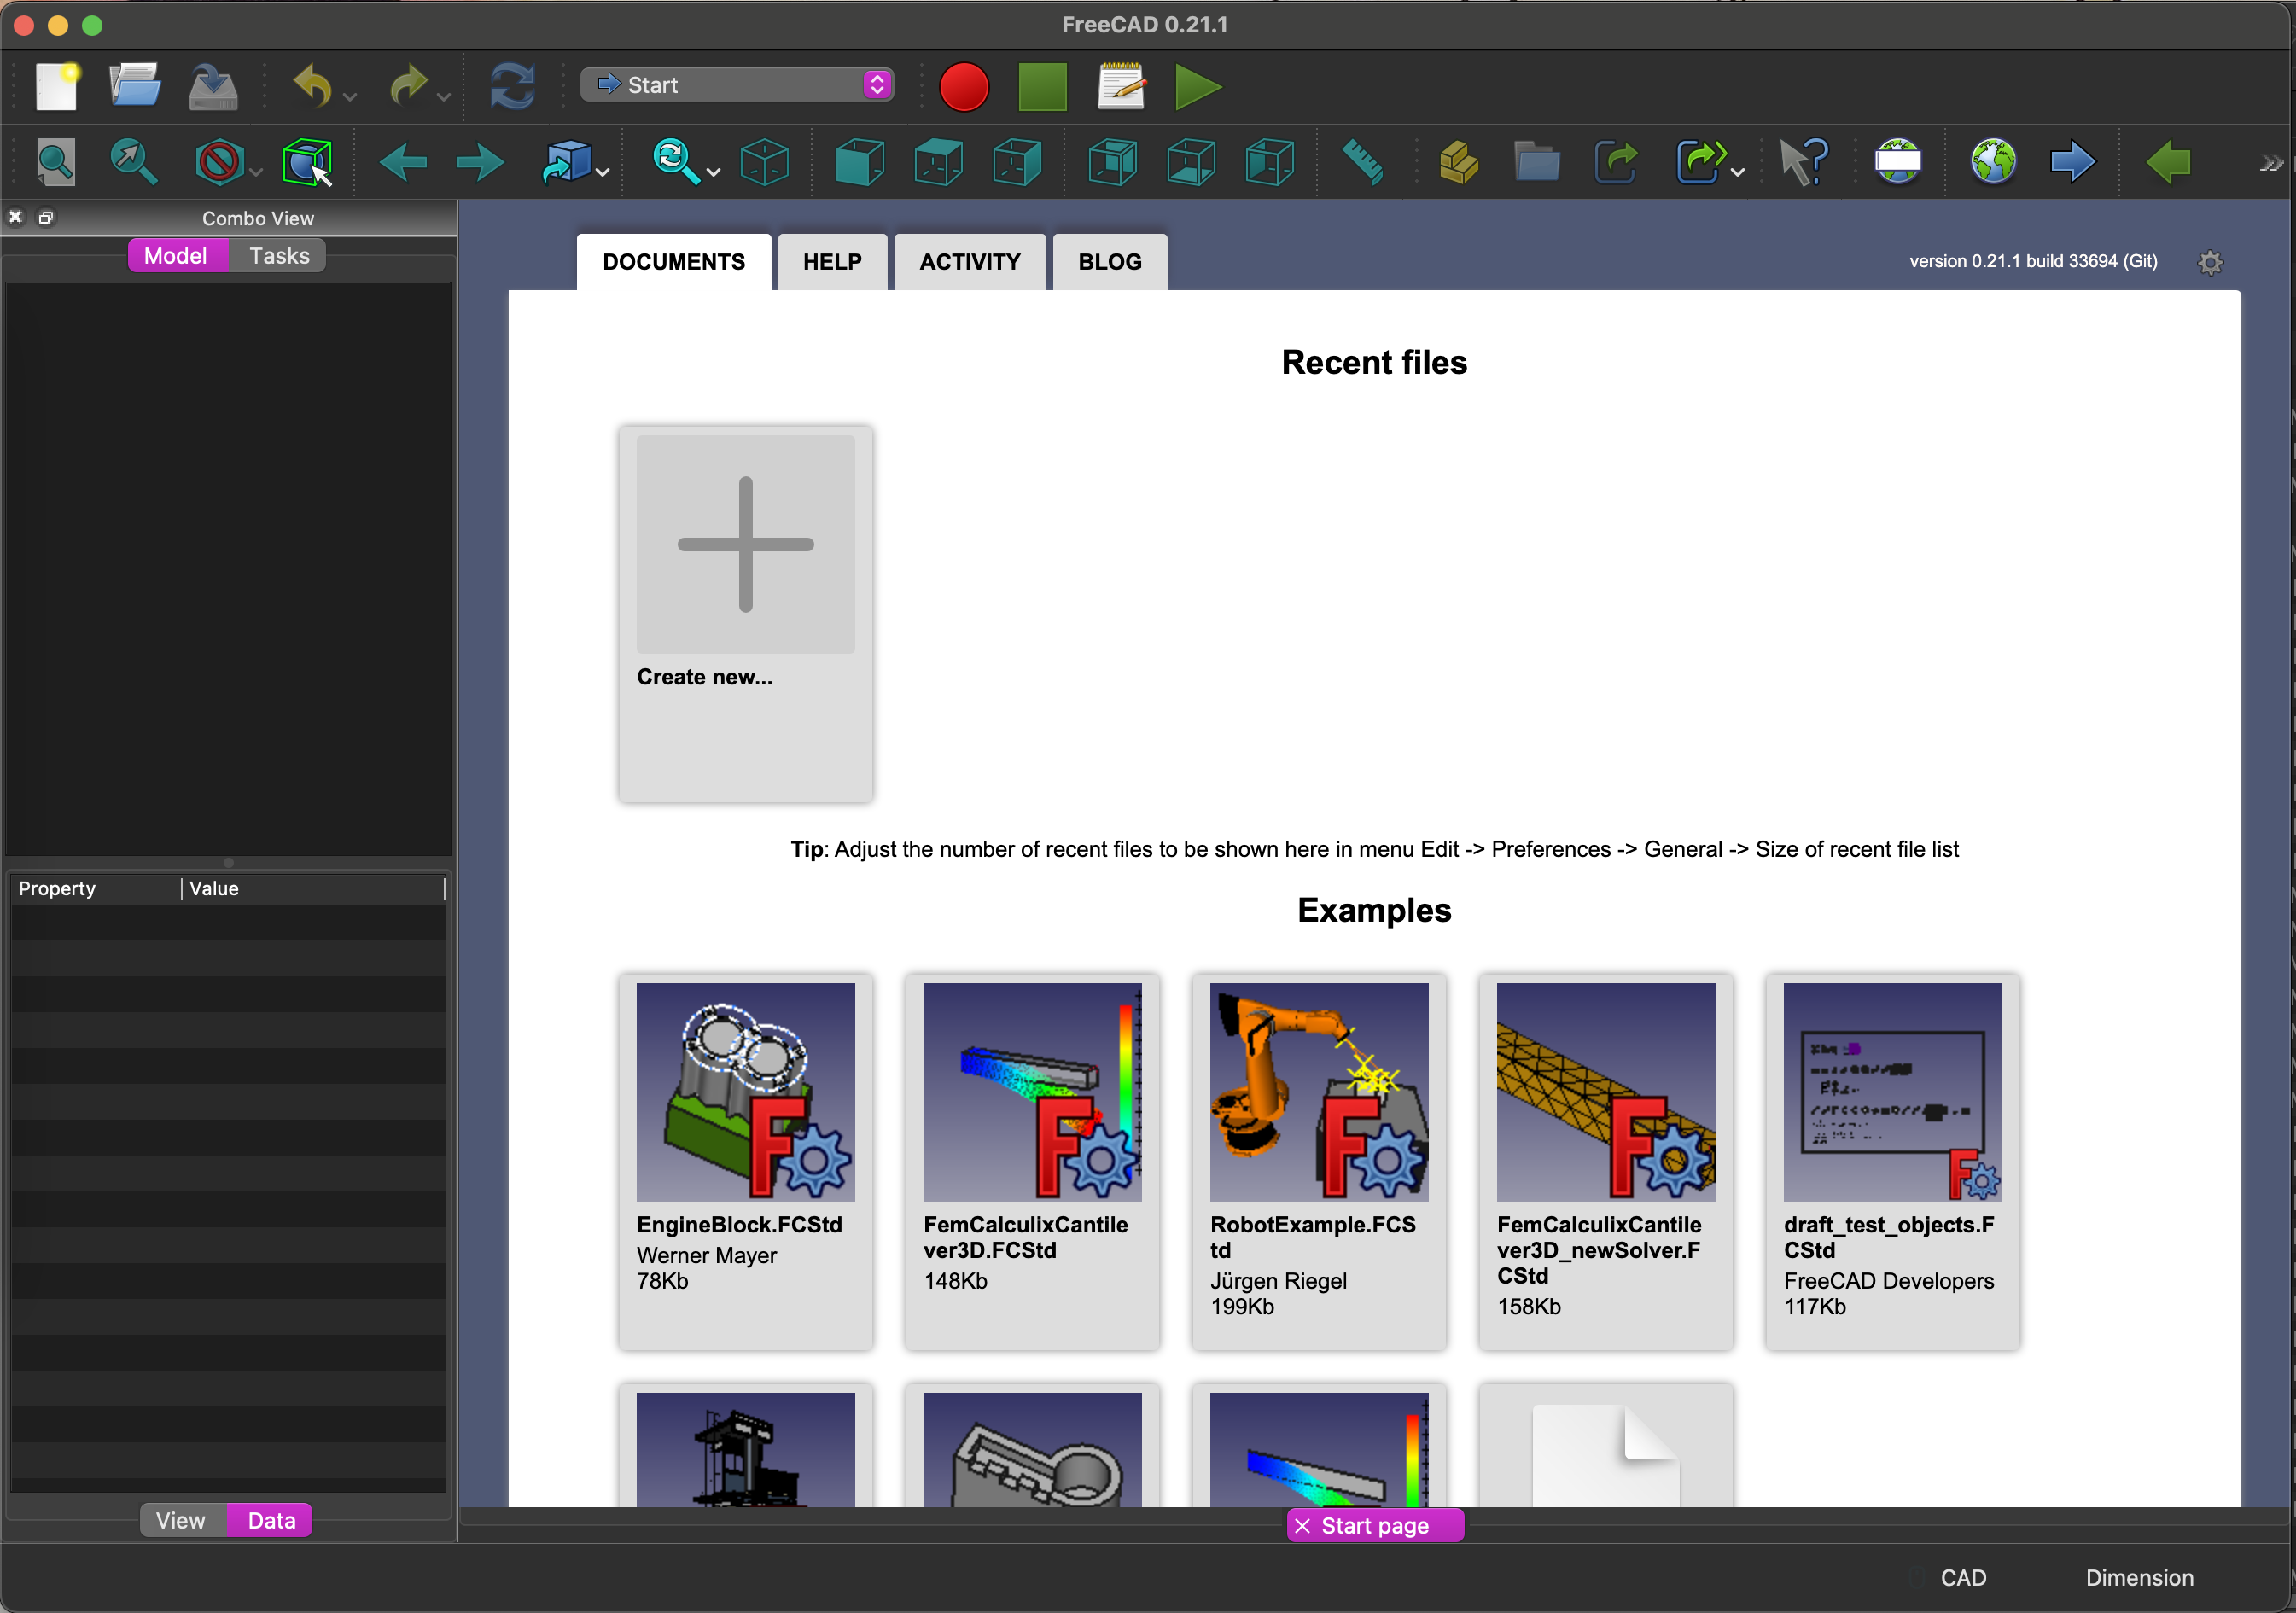
It will look like this when you open it up. Click on Create New.
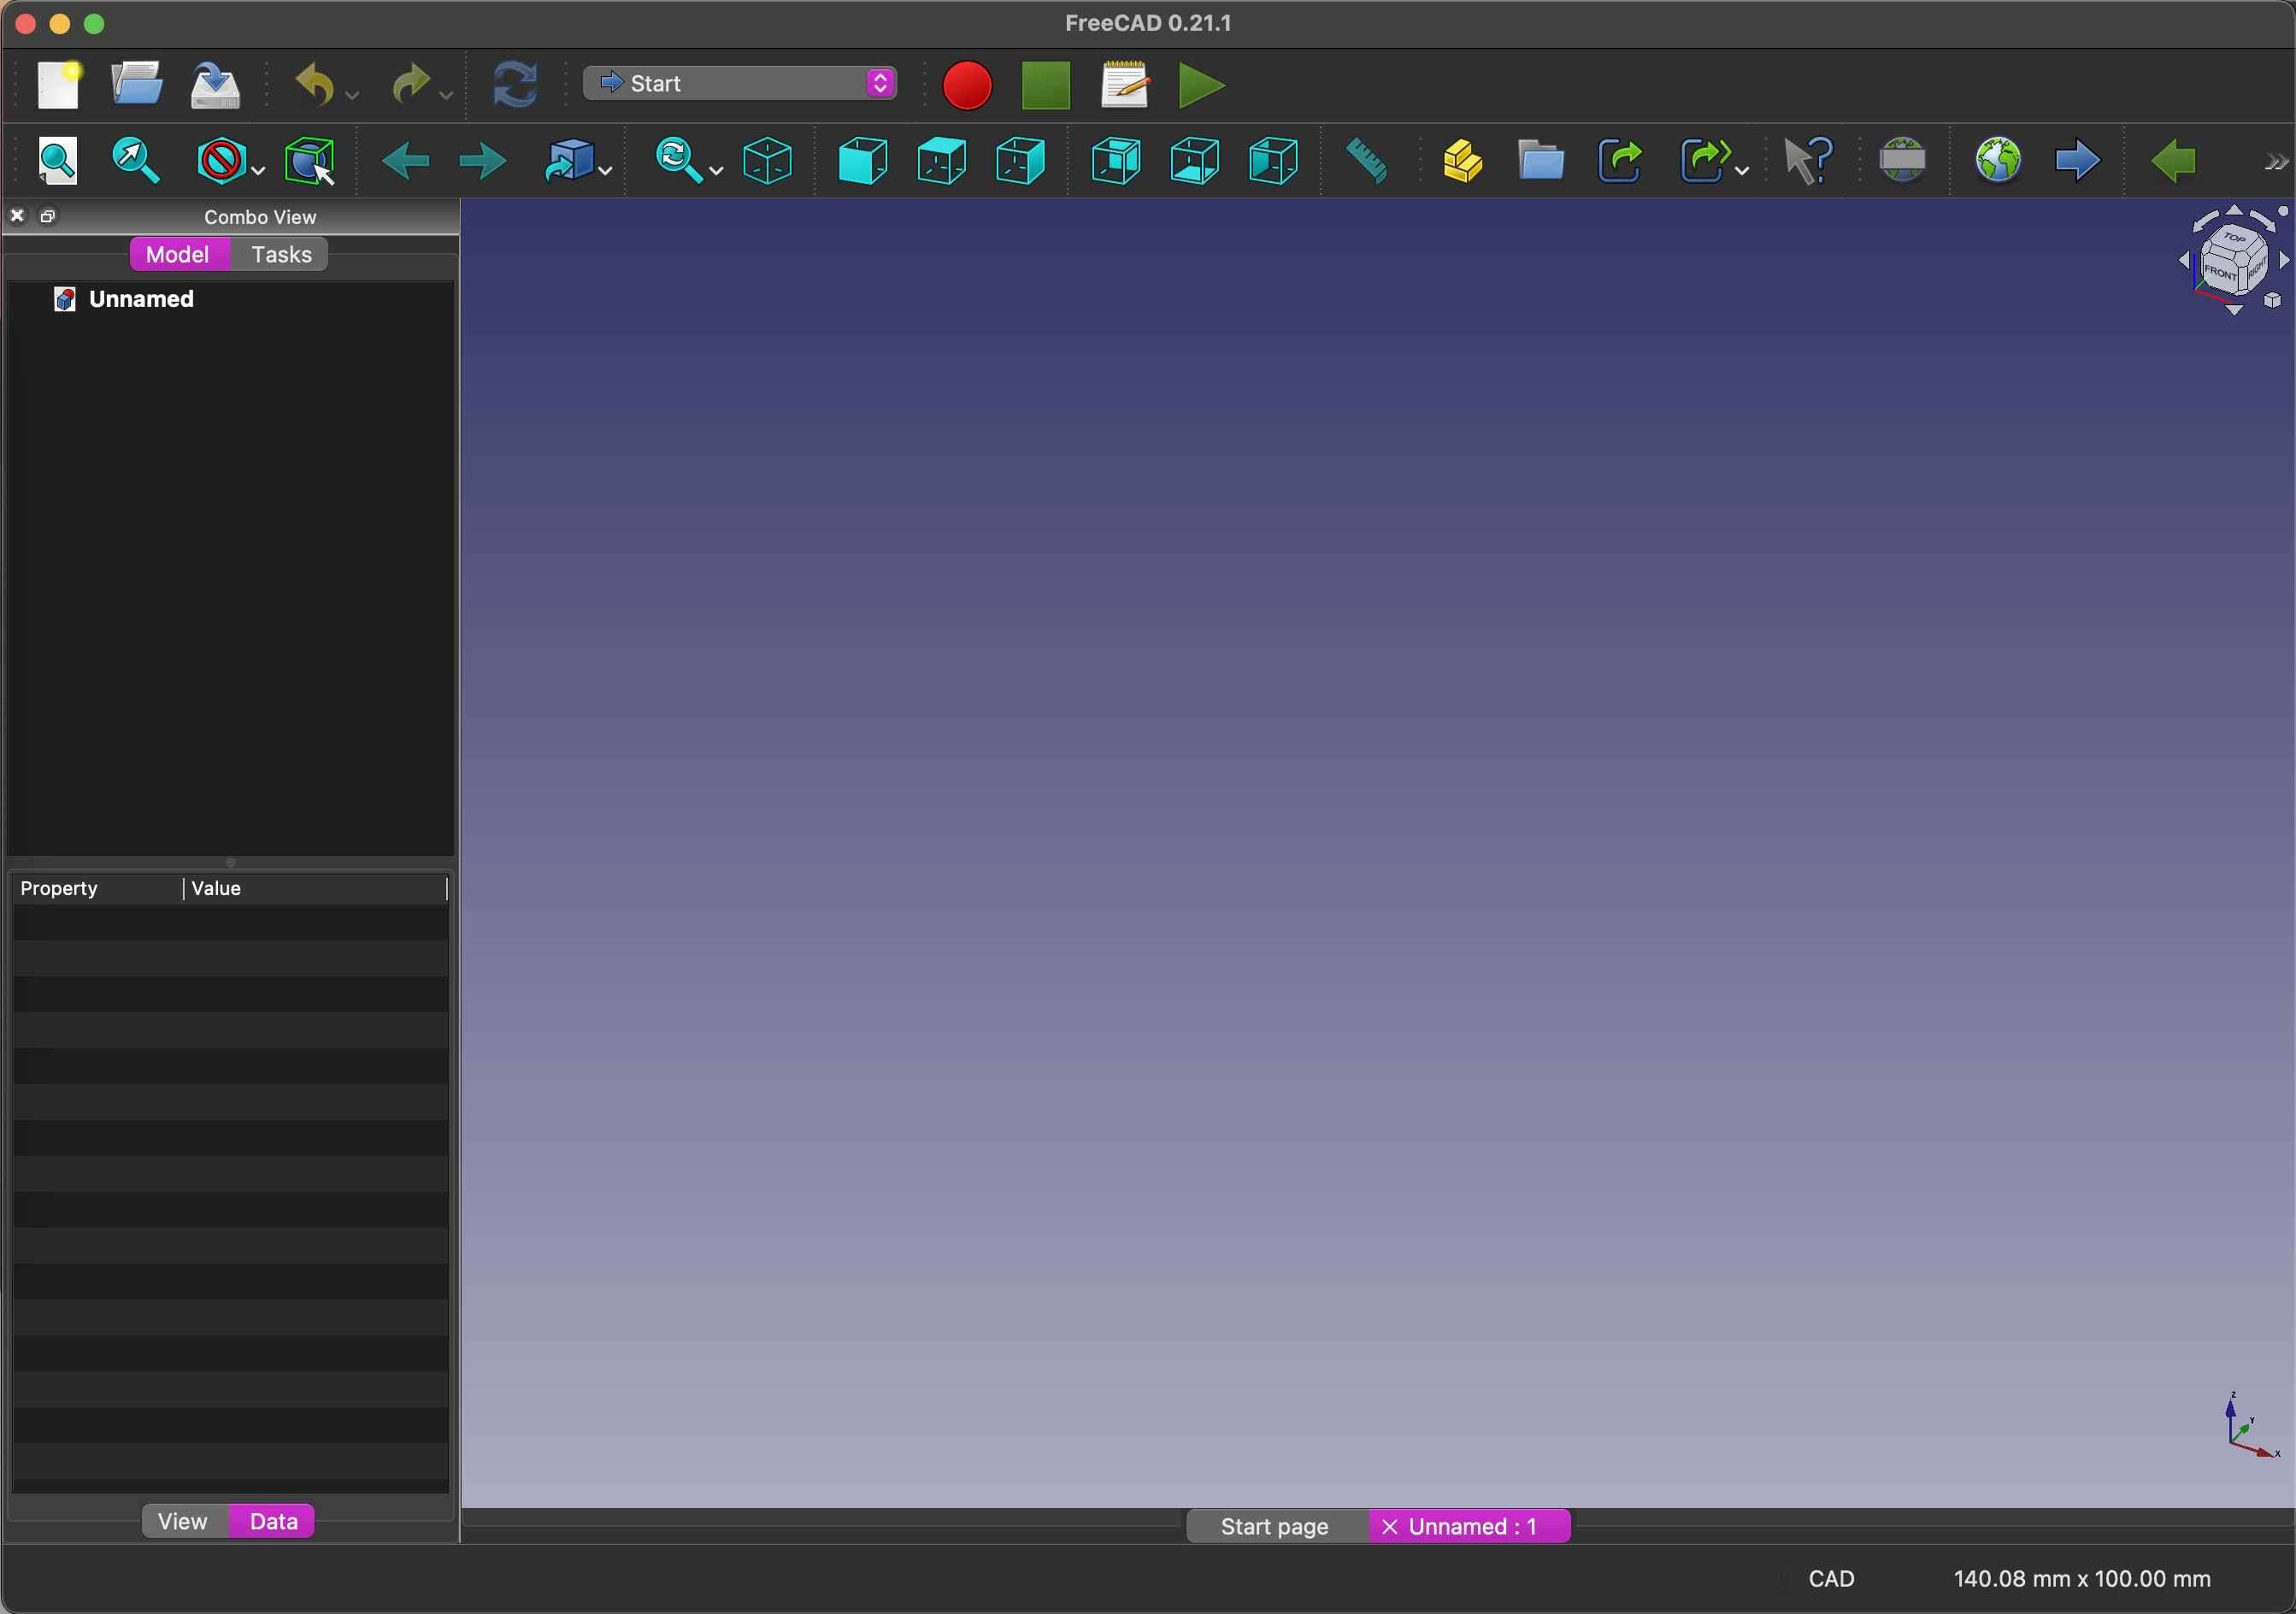
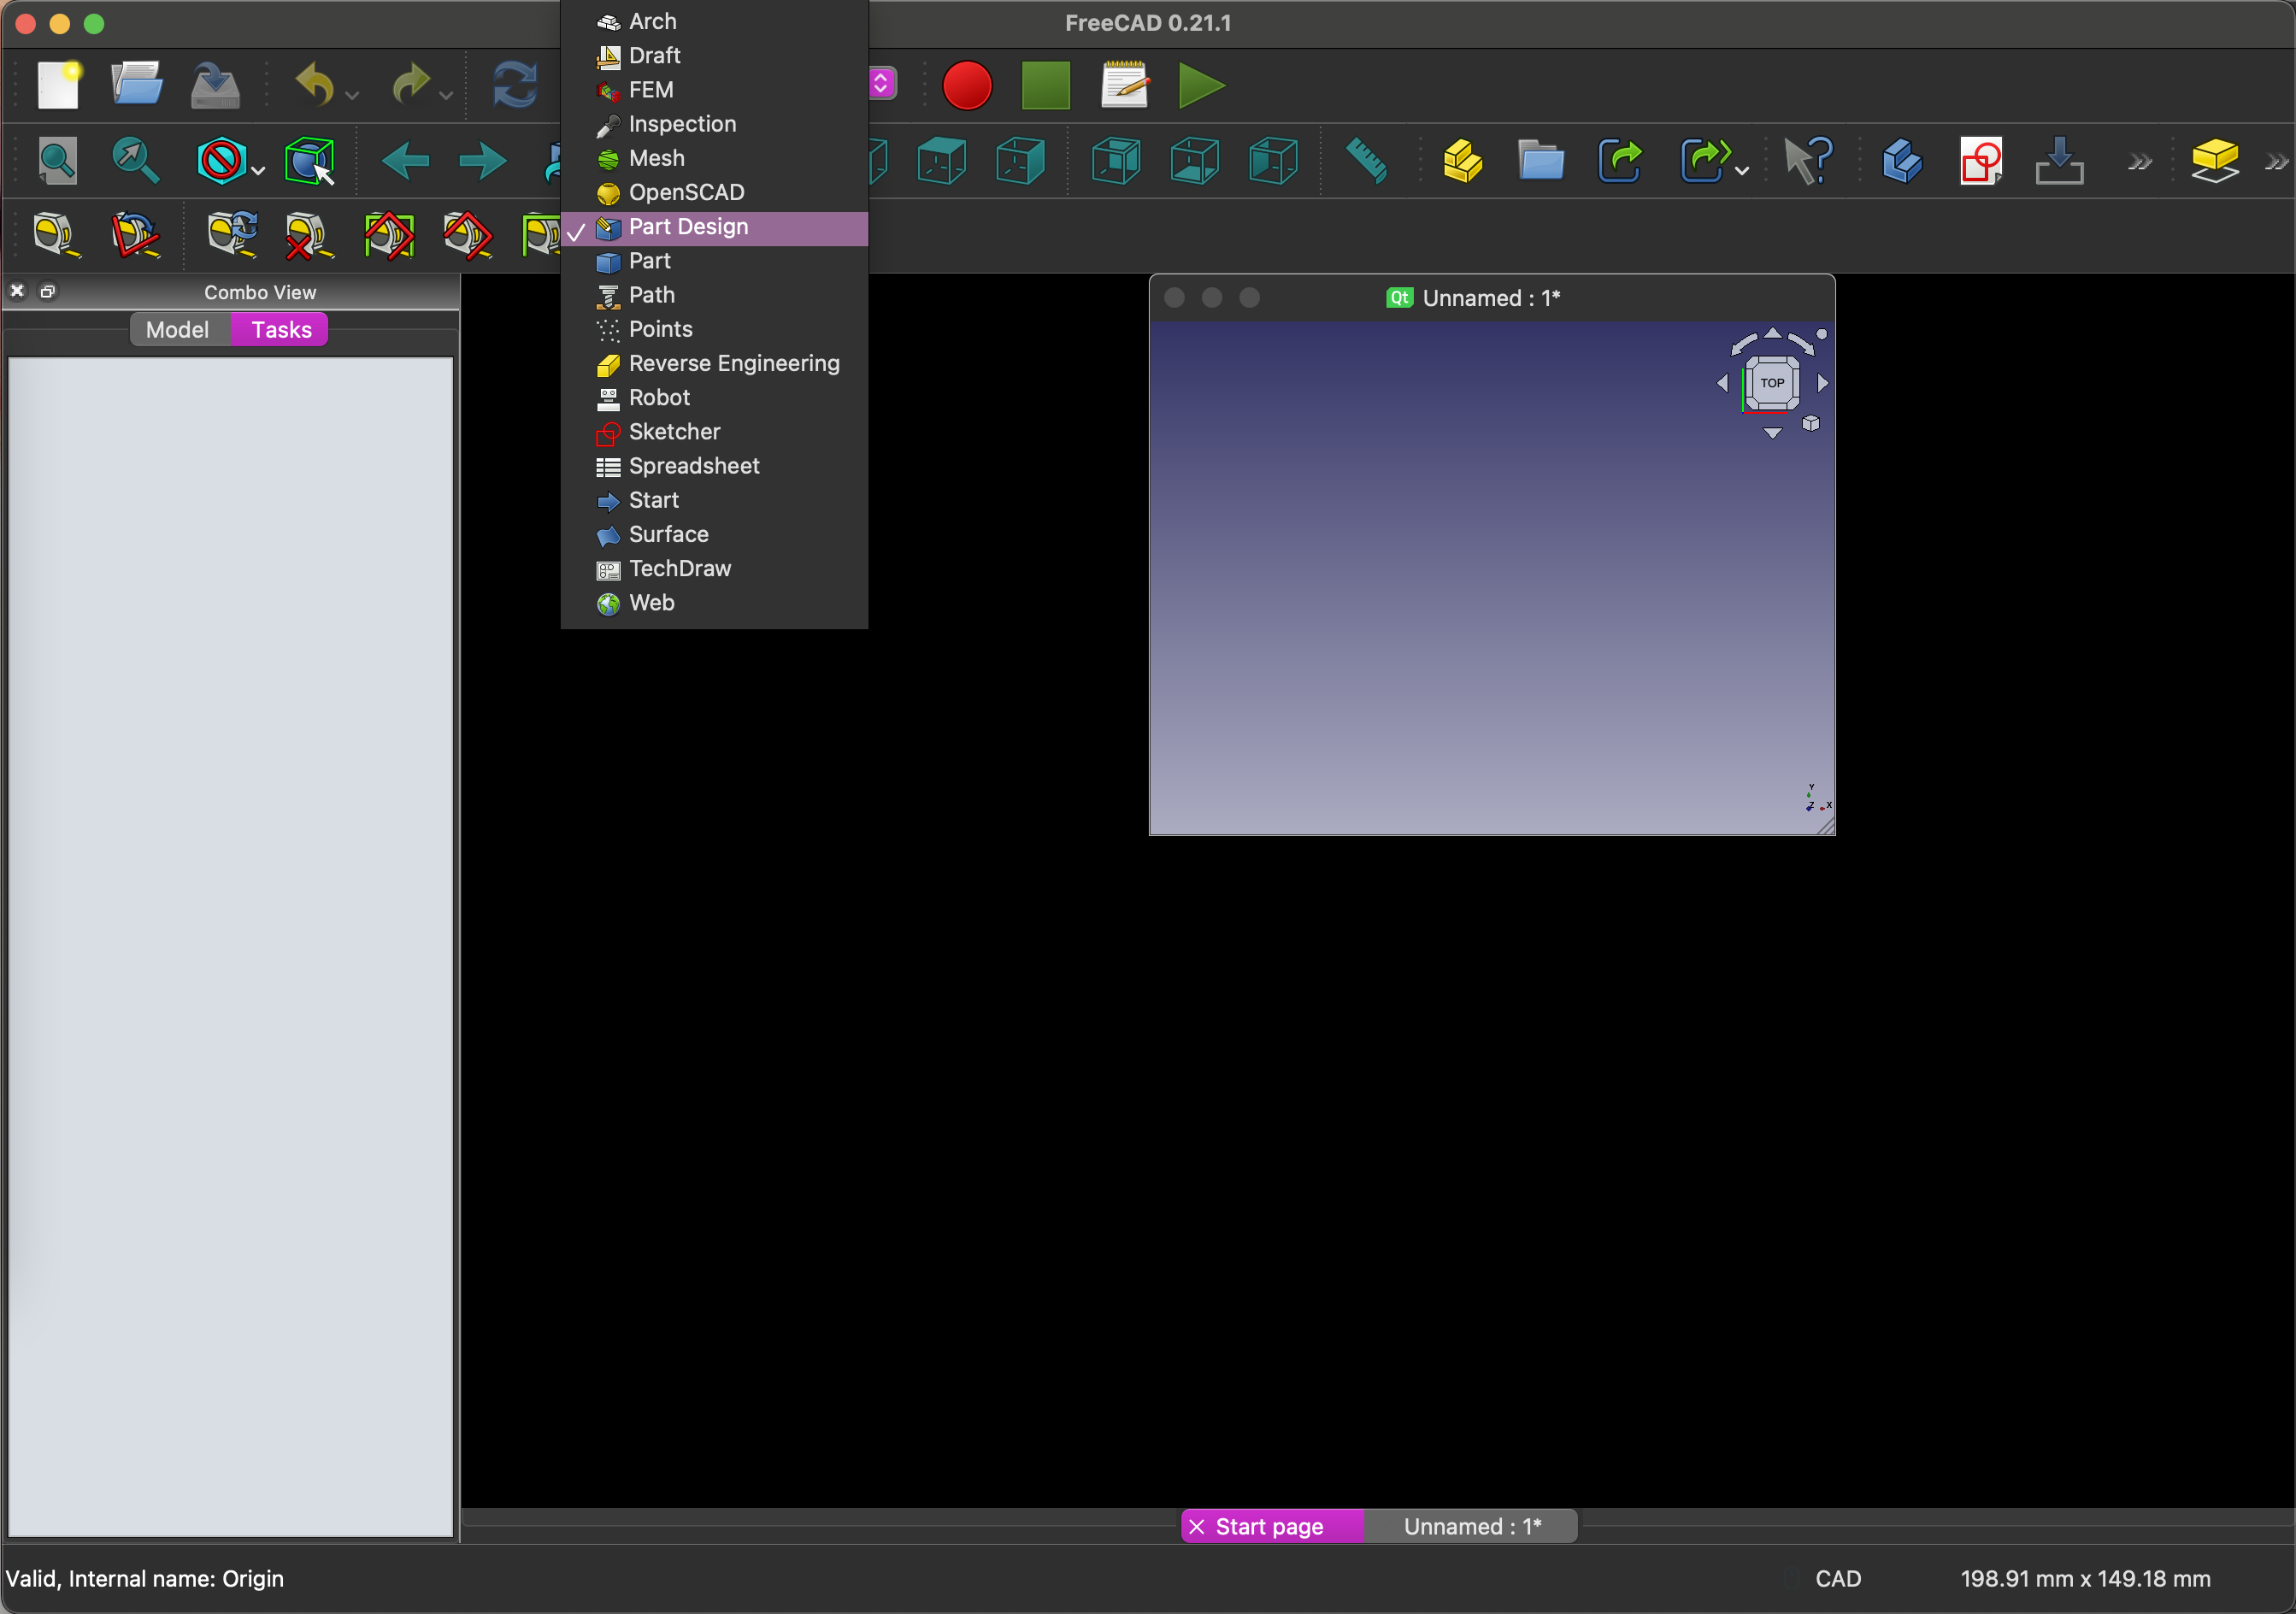
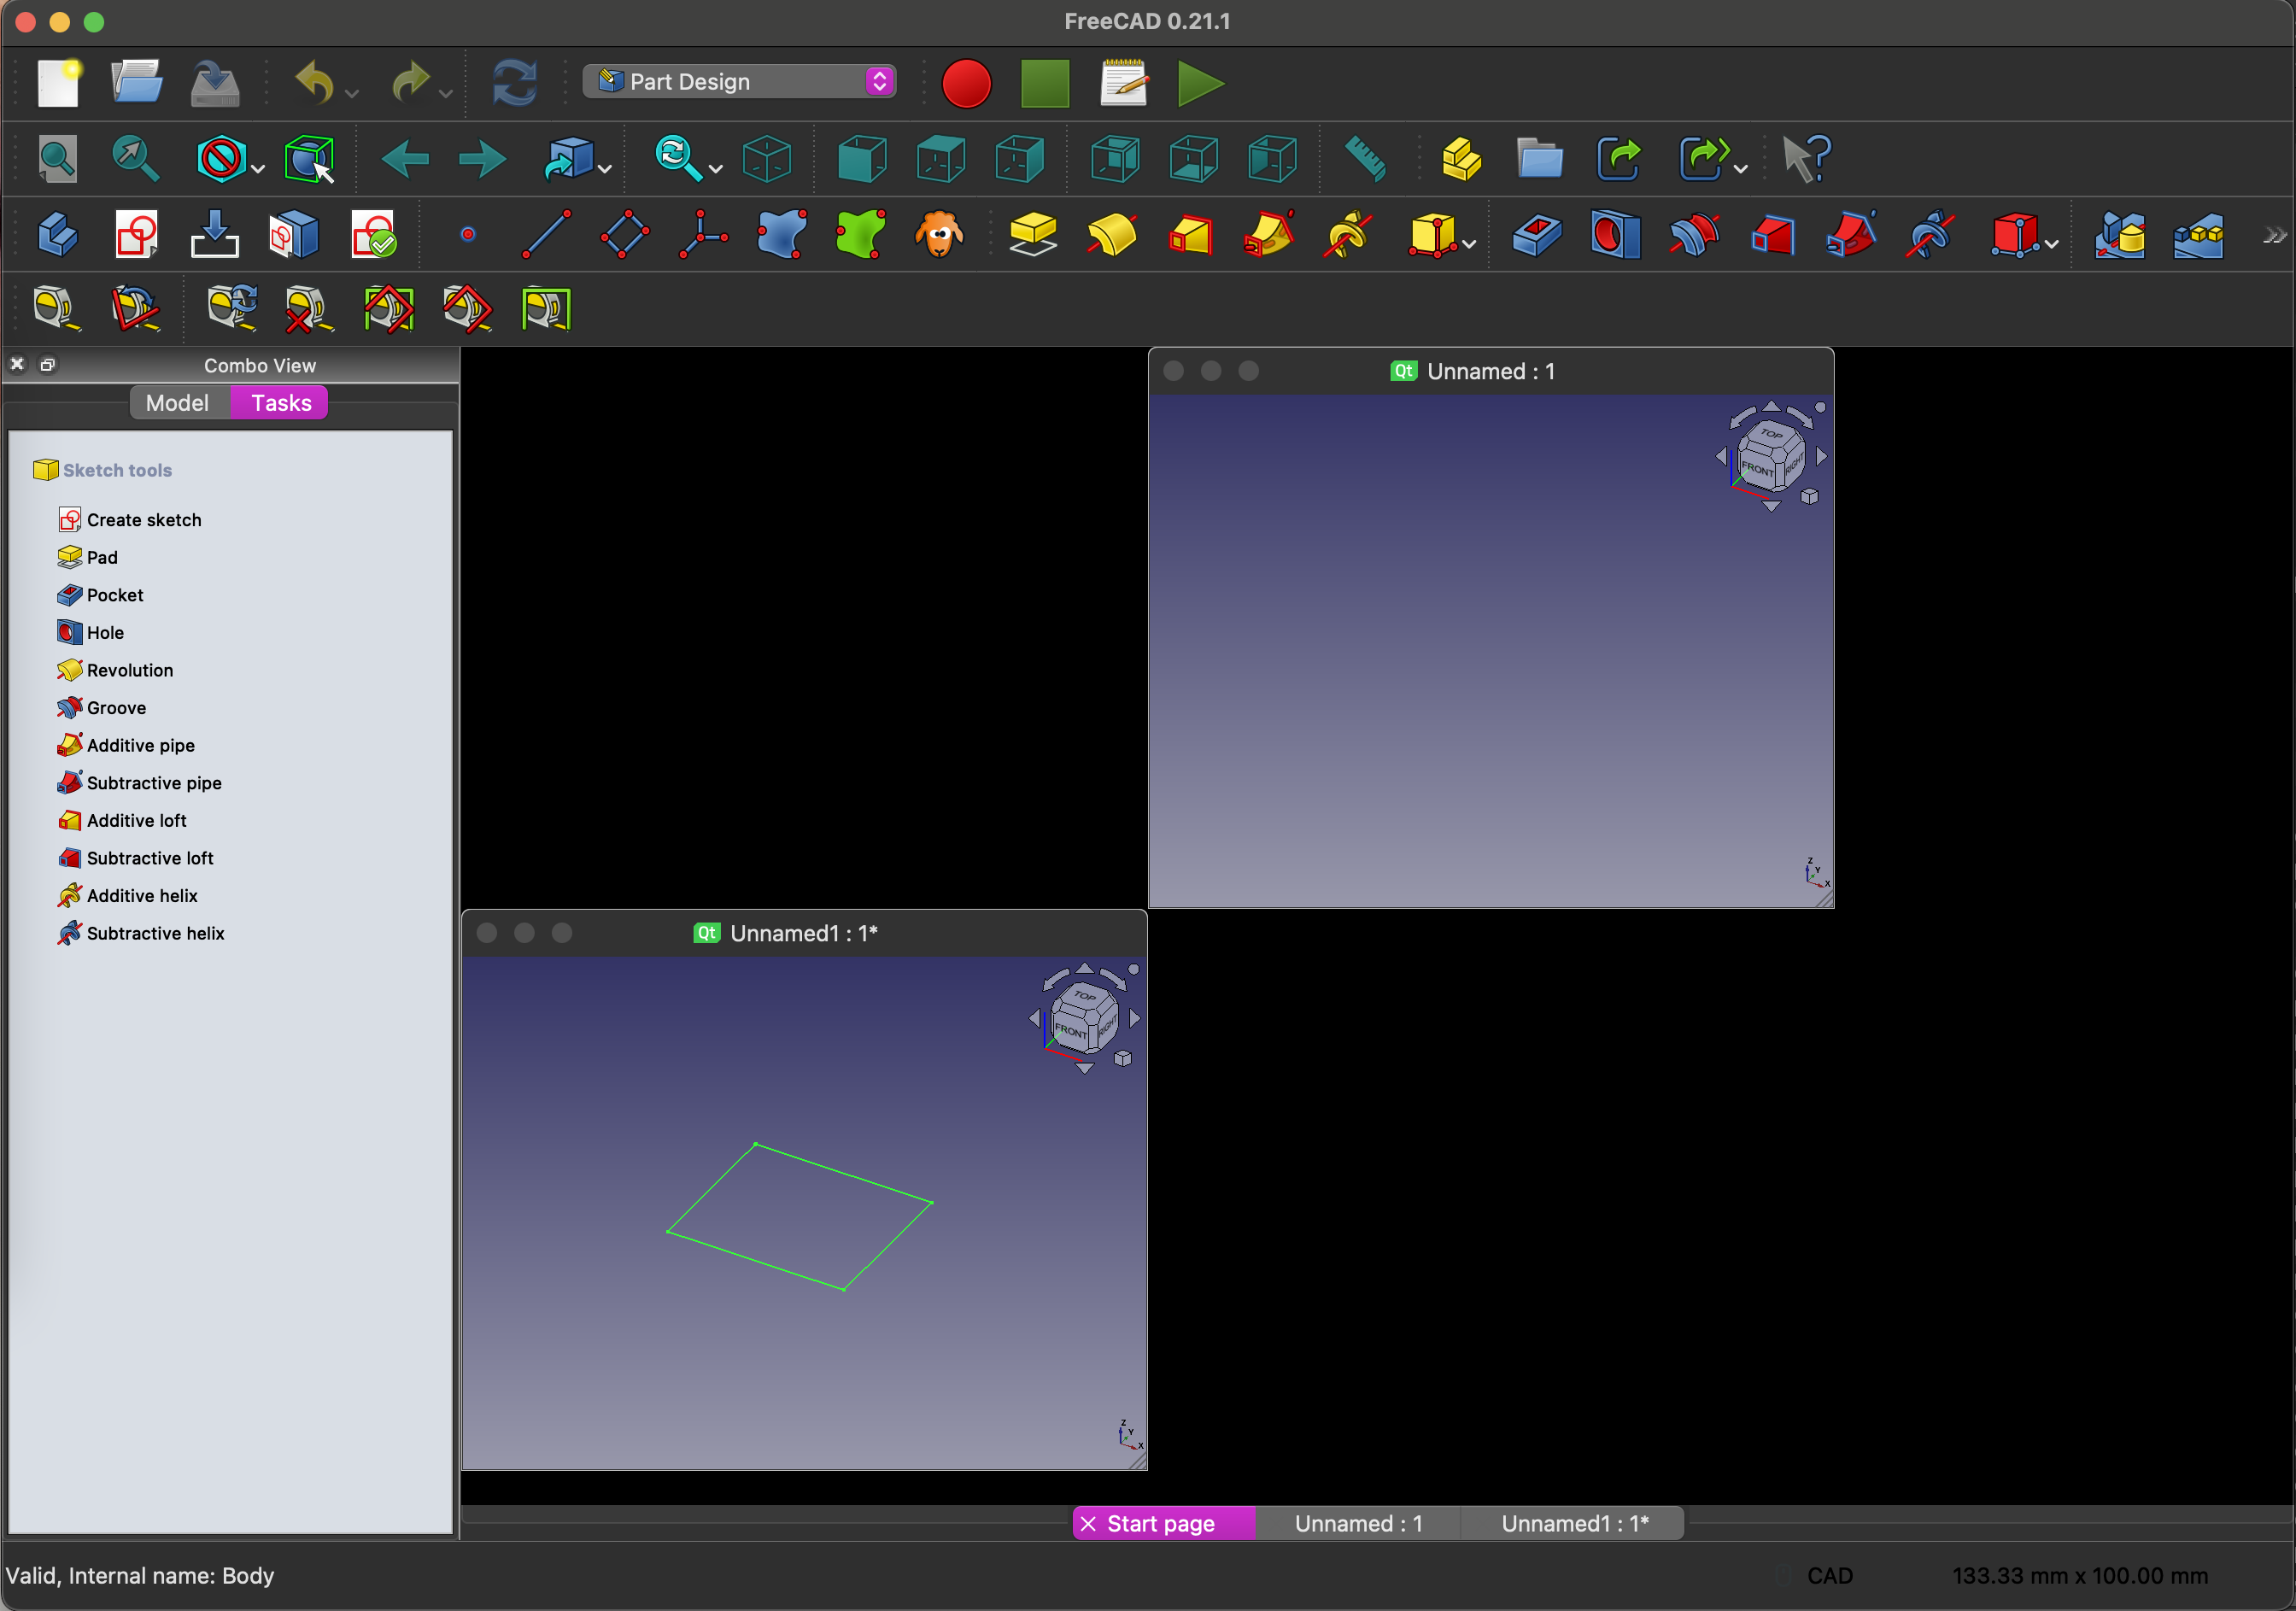
One difference I noticed right away compared to Onshape was the toolbars. In FreeCAD, there is a dropdown selection tool that changes the options available in the toolbar. To create a new sketch and part, I selected Part Design from the menu.
Under the Combo View bow on the left, select "start body". Then click "create sketch".
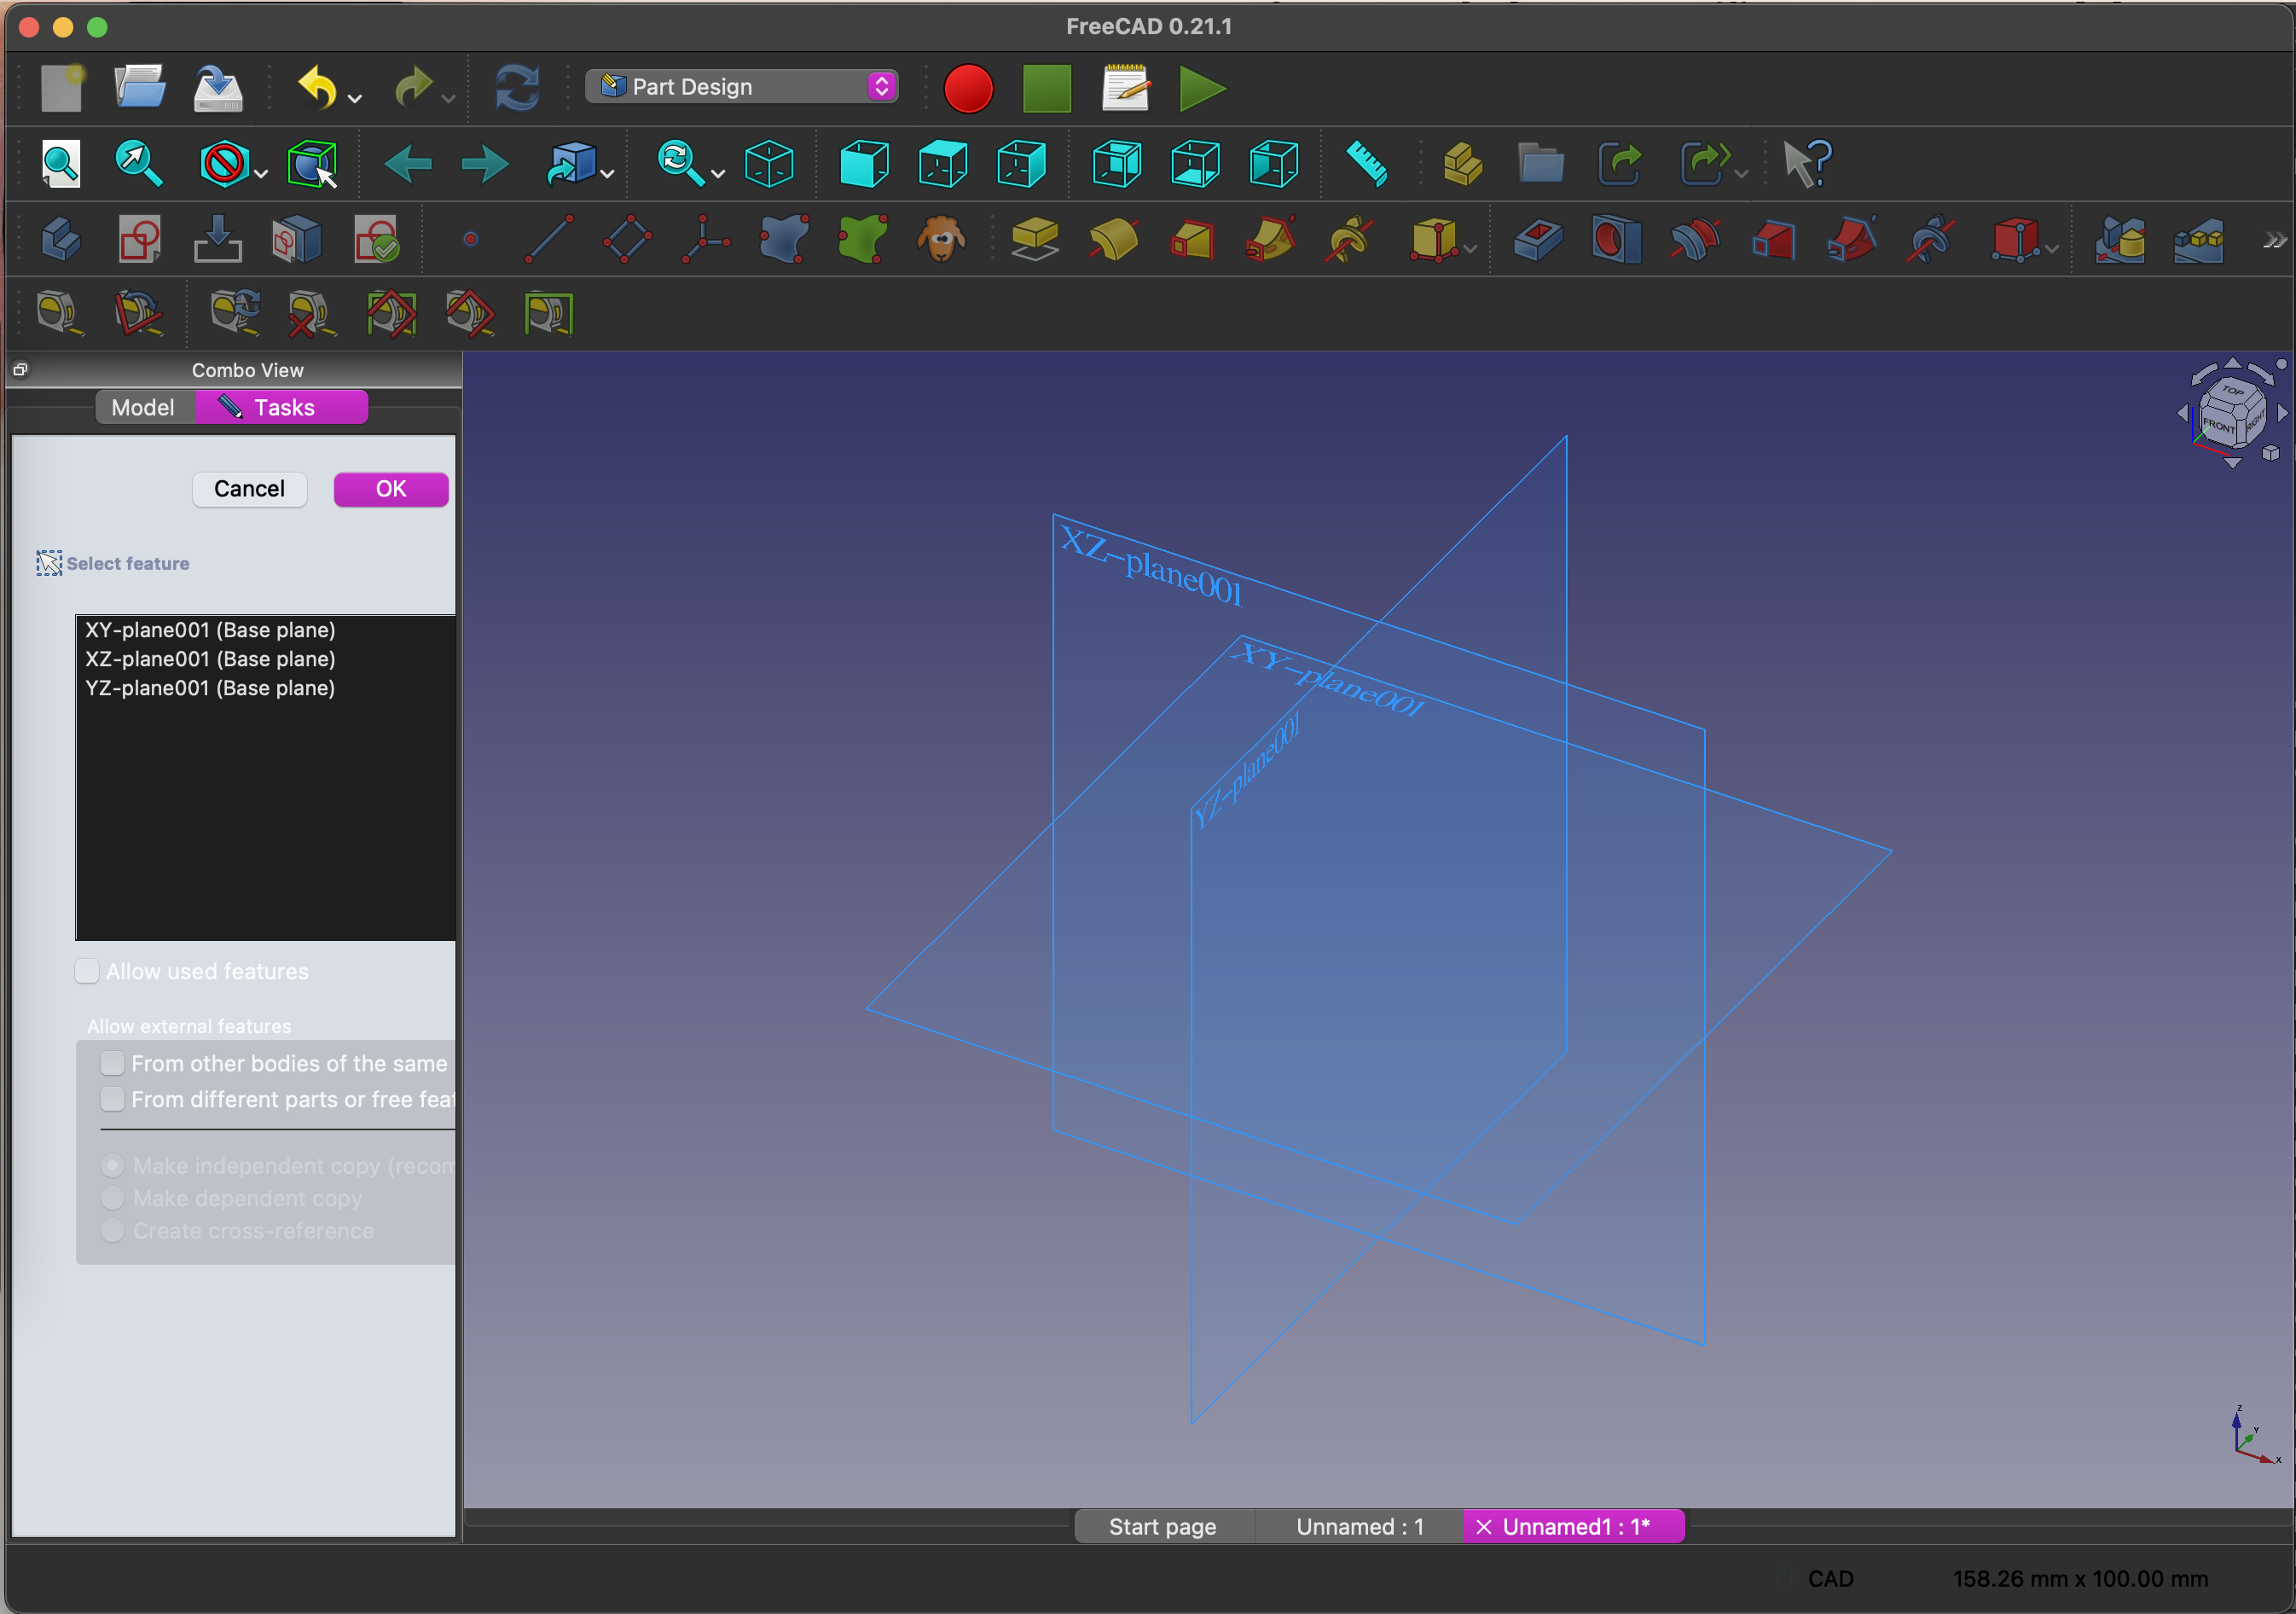
The sketch planes will appear and you should select the plane you would like to create your initial sketch on.
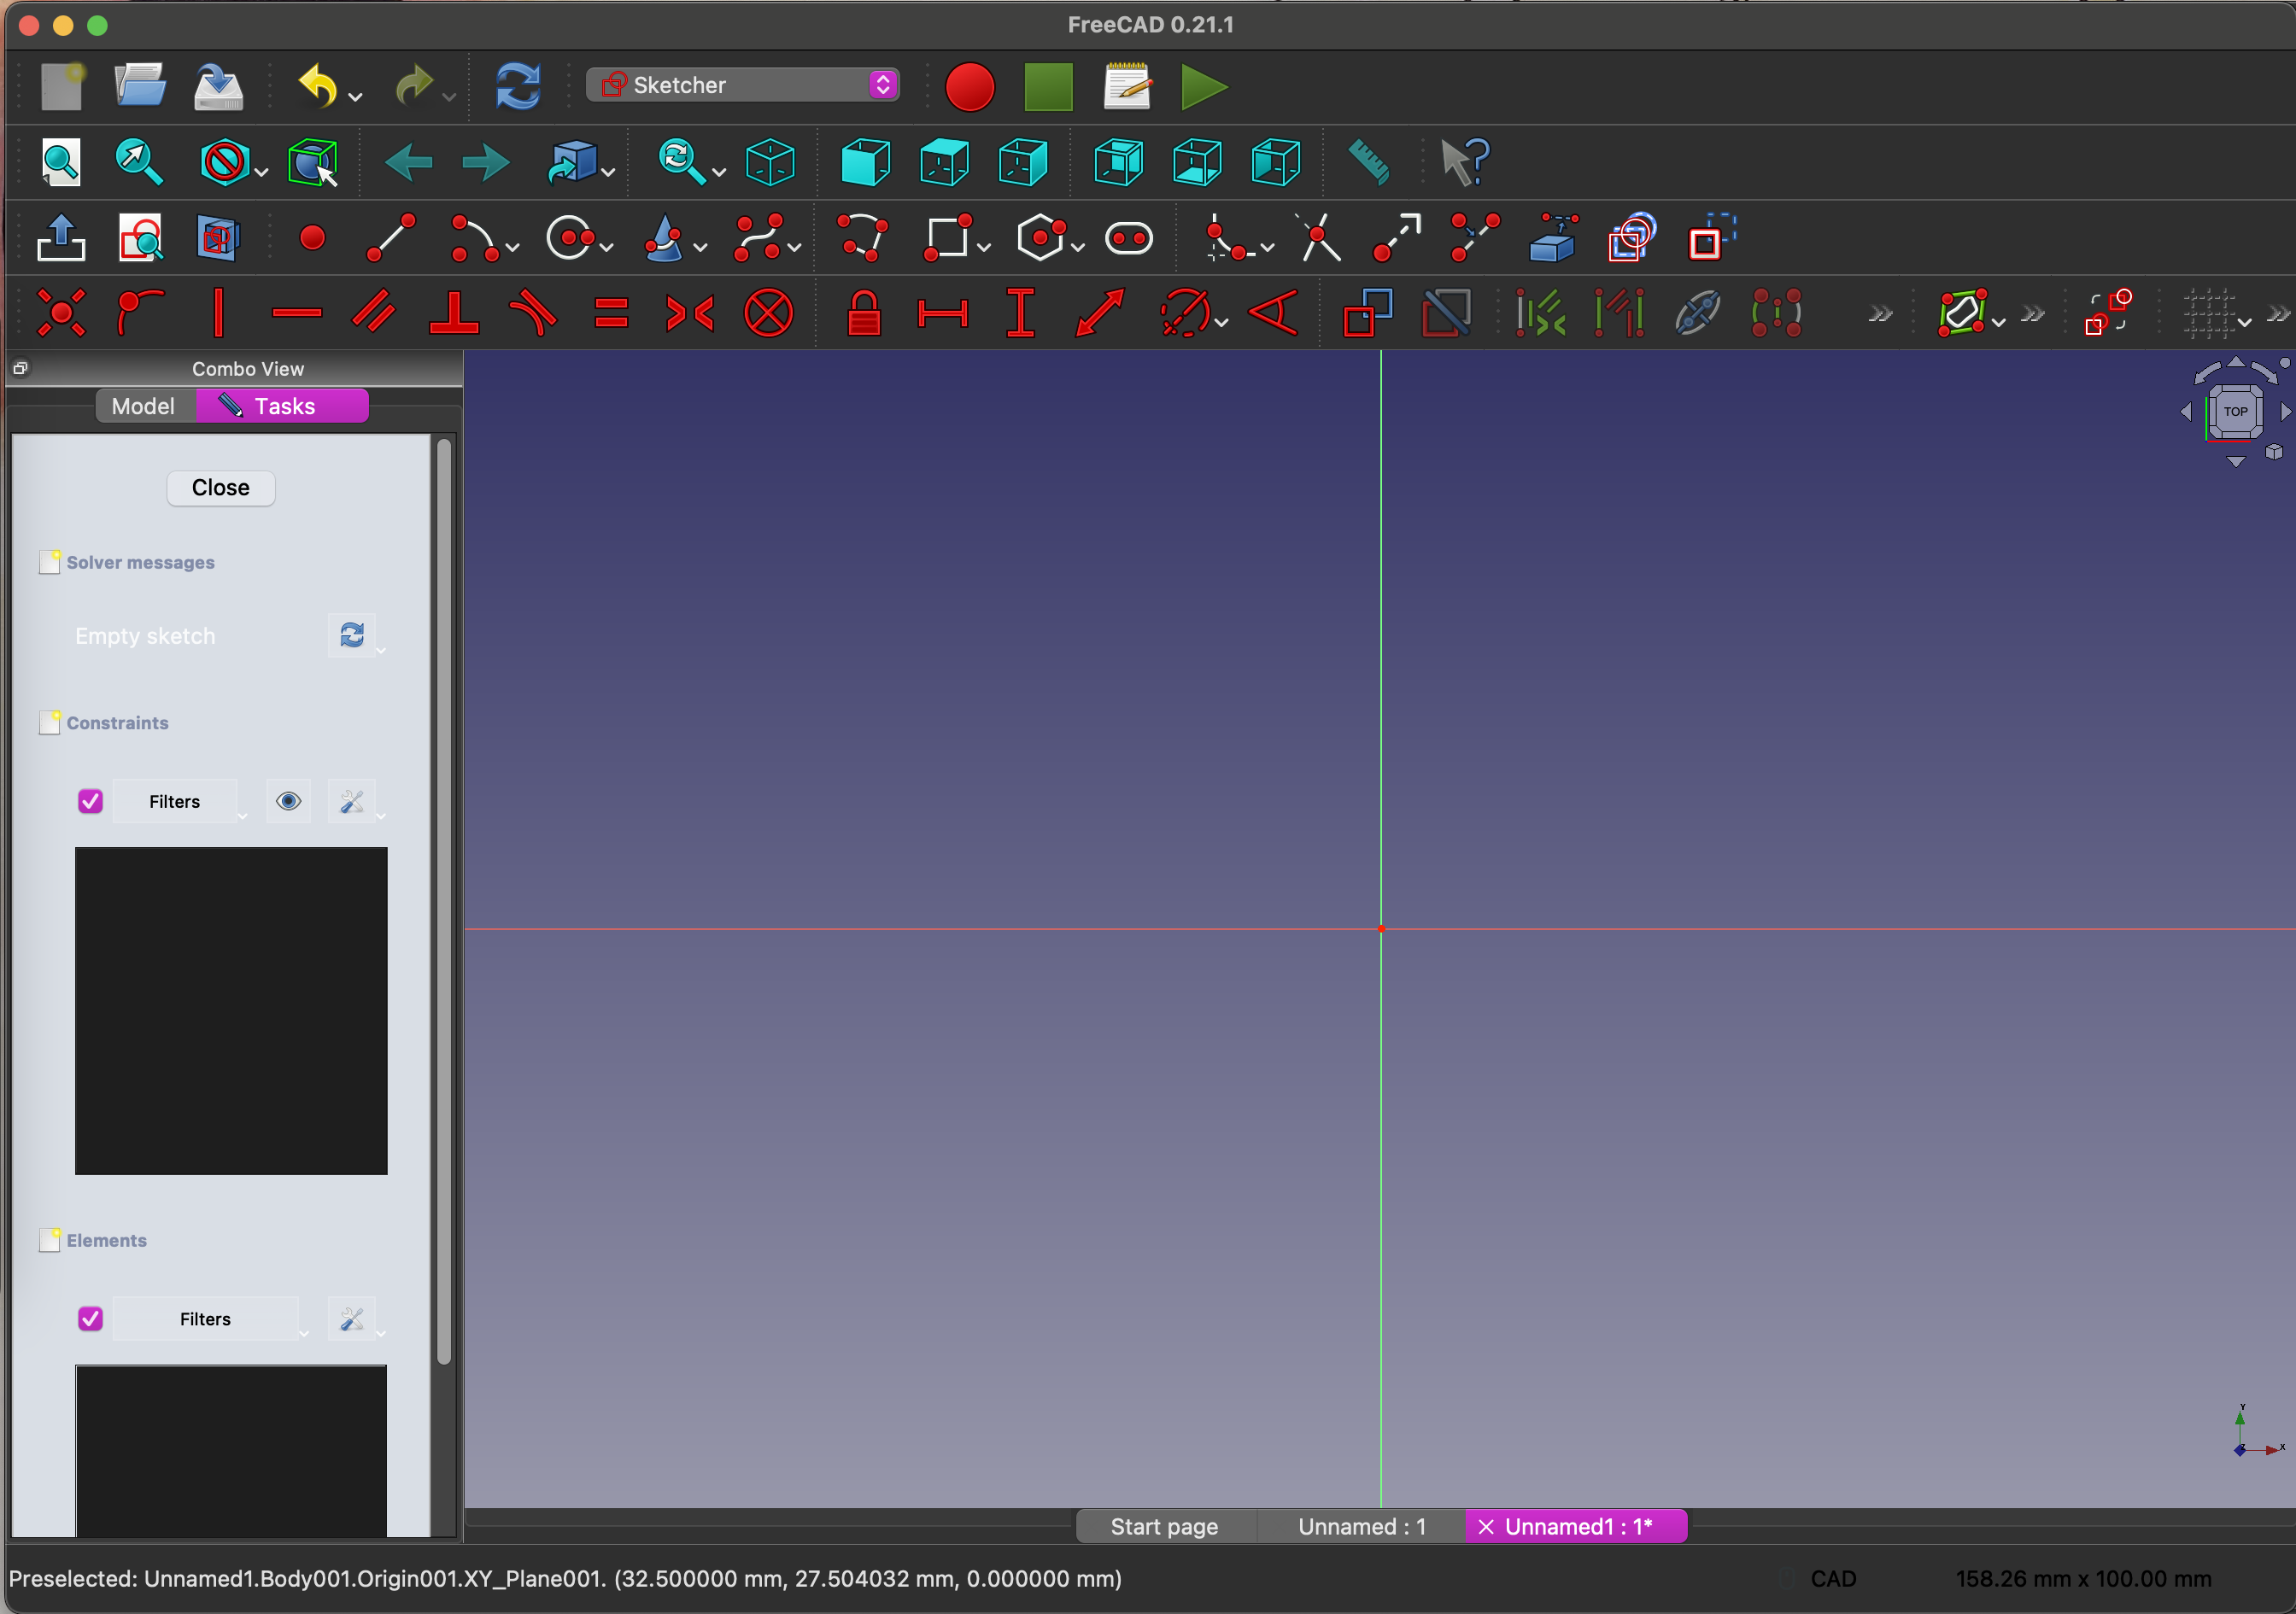
These are the tools for sketching.
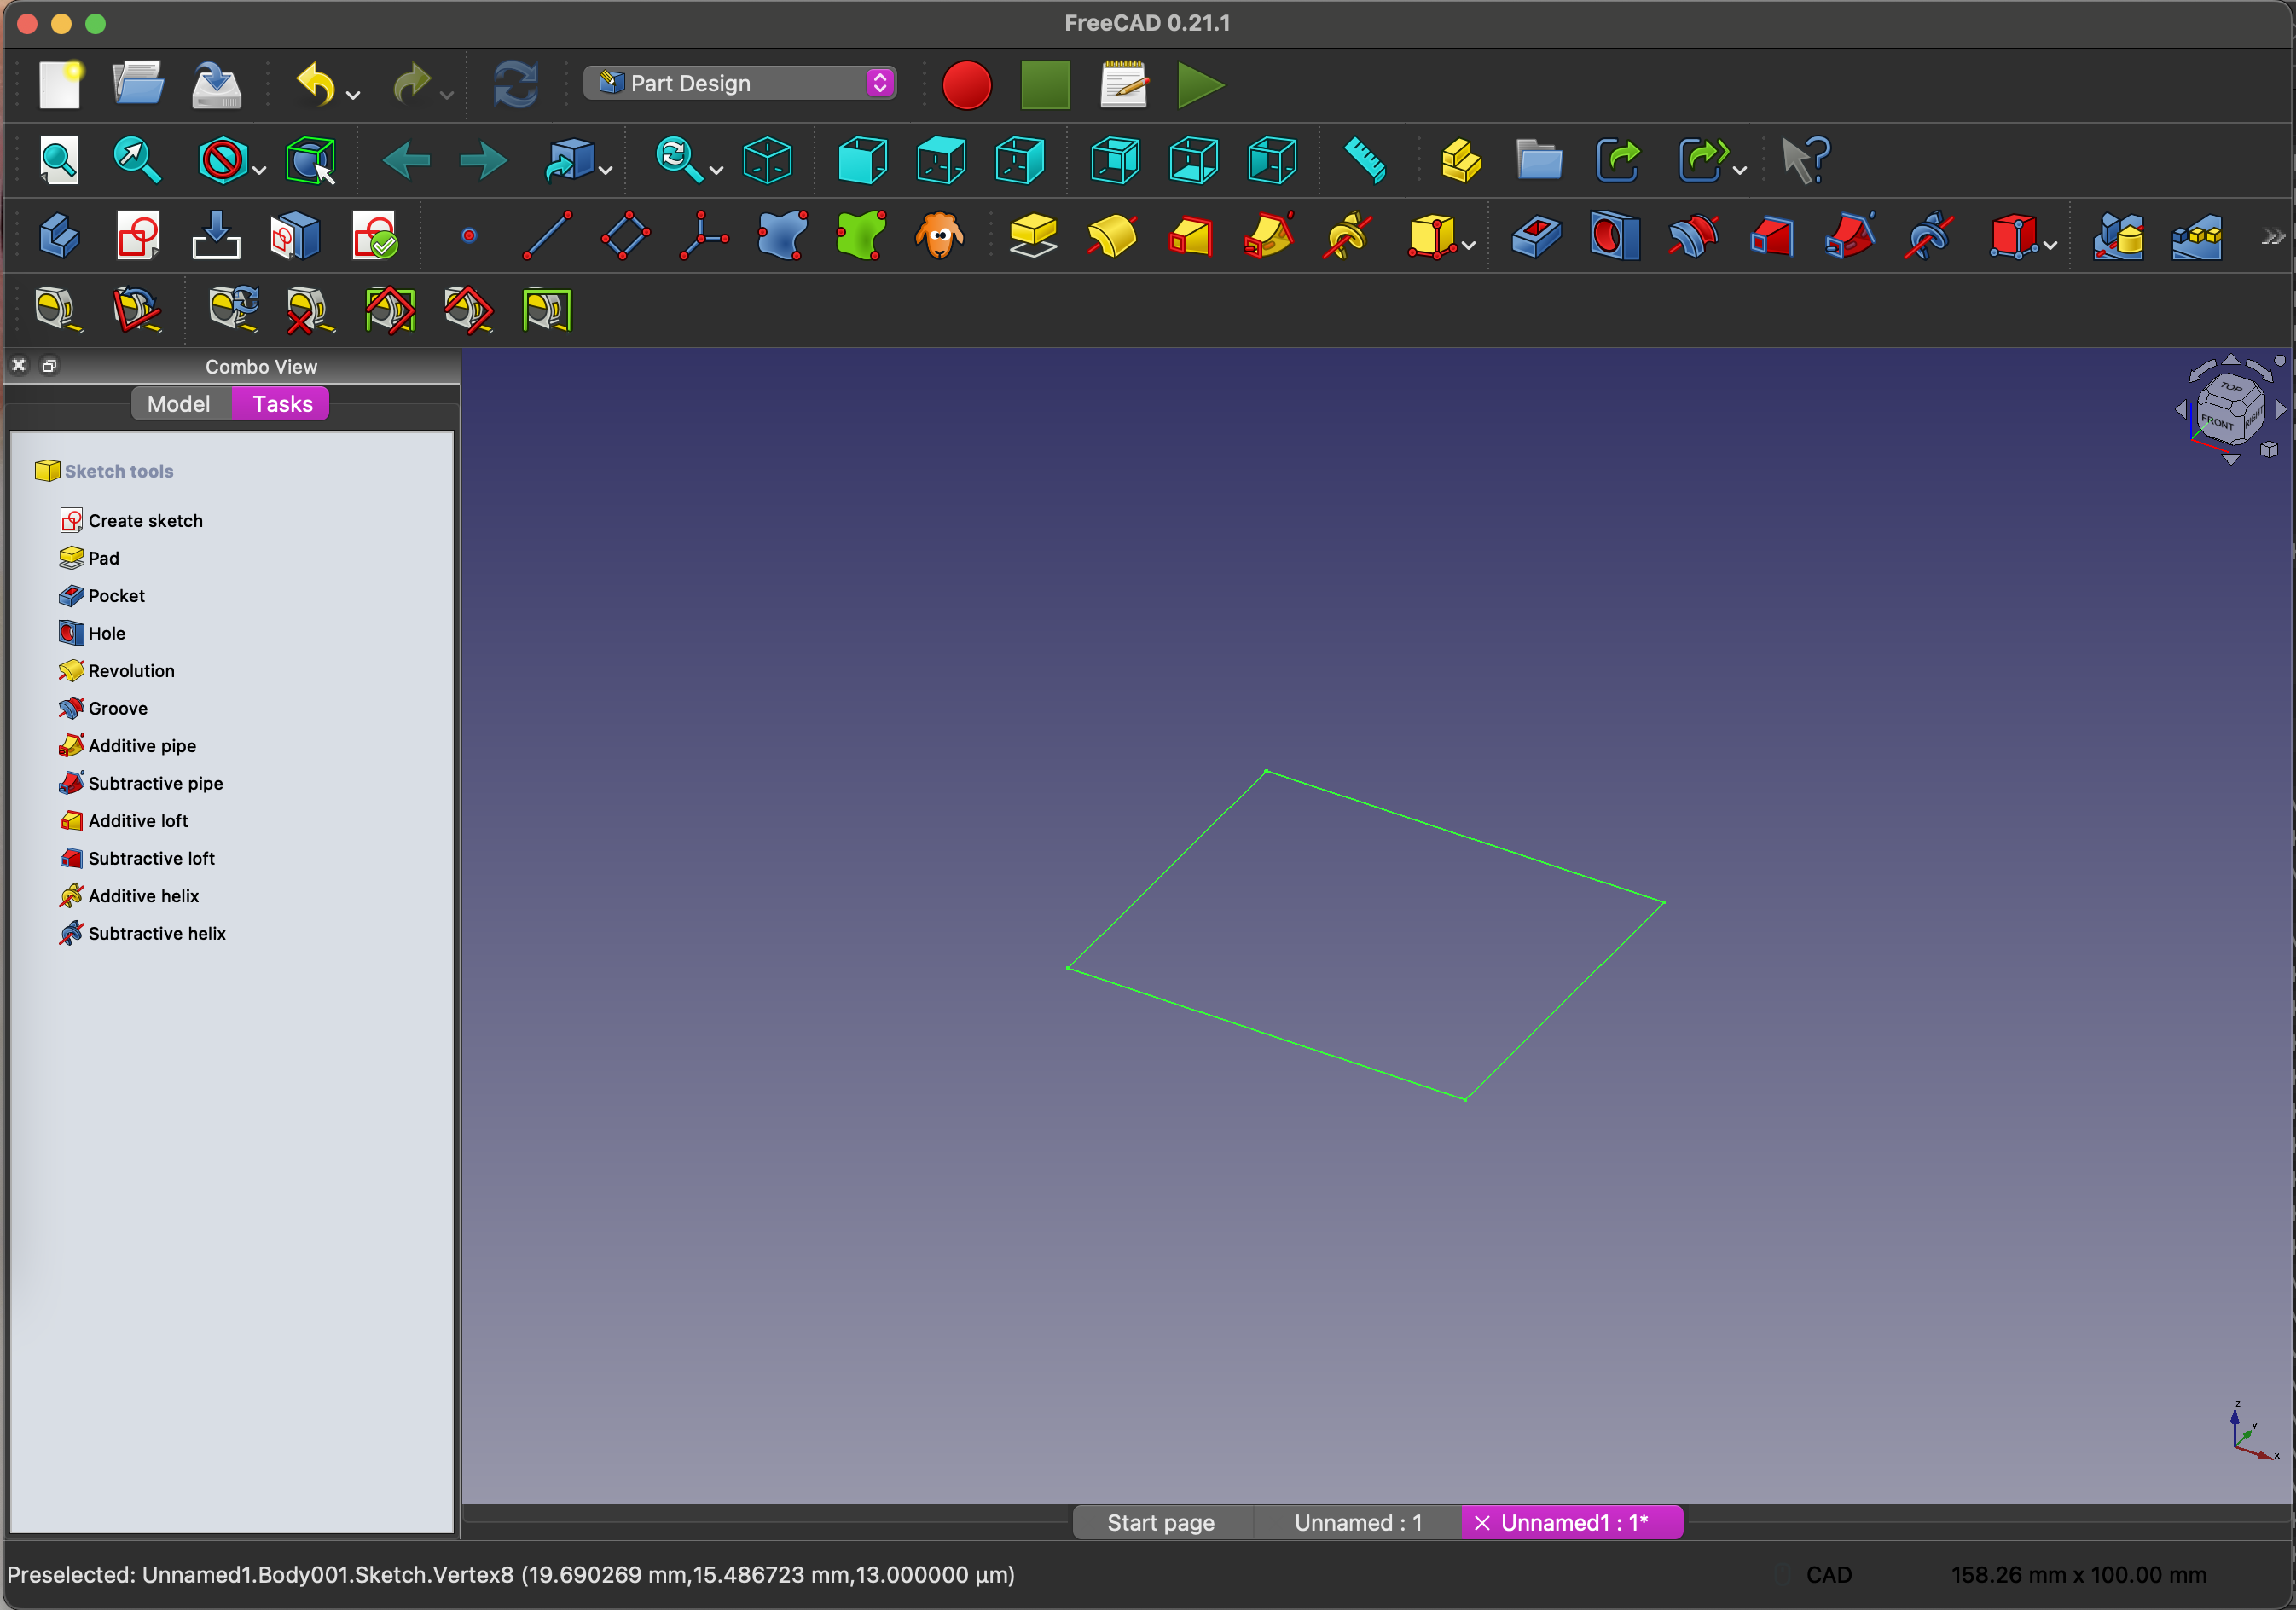
I am creating a hollow box (without a lid) so I want to start with a rectangle as my 2D base.
Once I sketch my rectangle, I am able to click ok in the task box and close the sketch. Now I select my sketch, and in the Tasks tab, I select the pad tool.
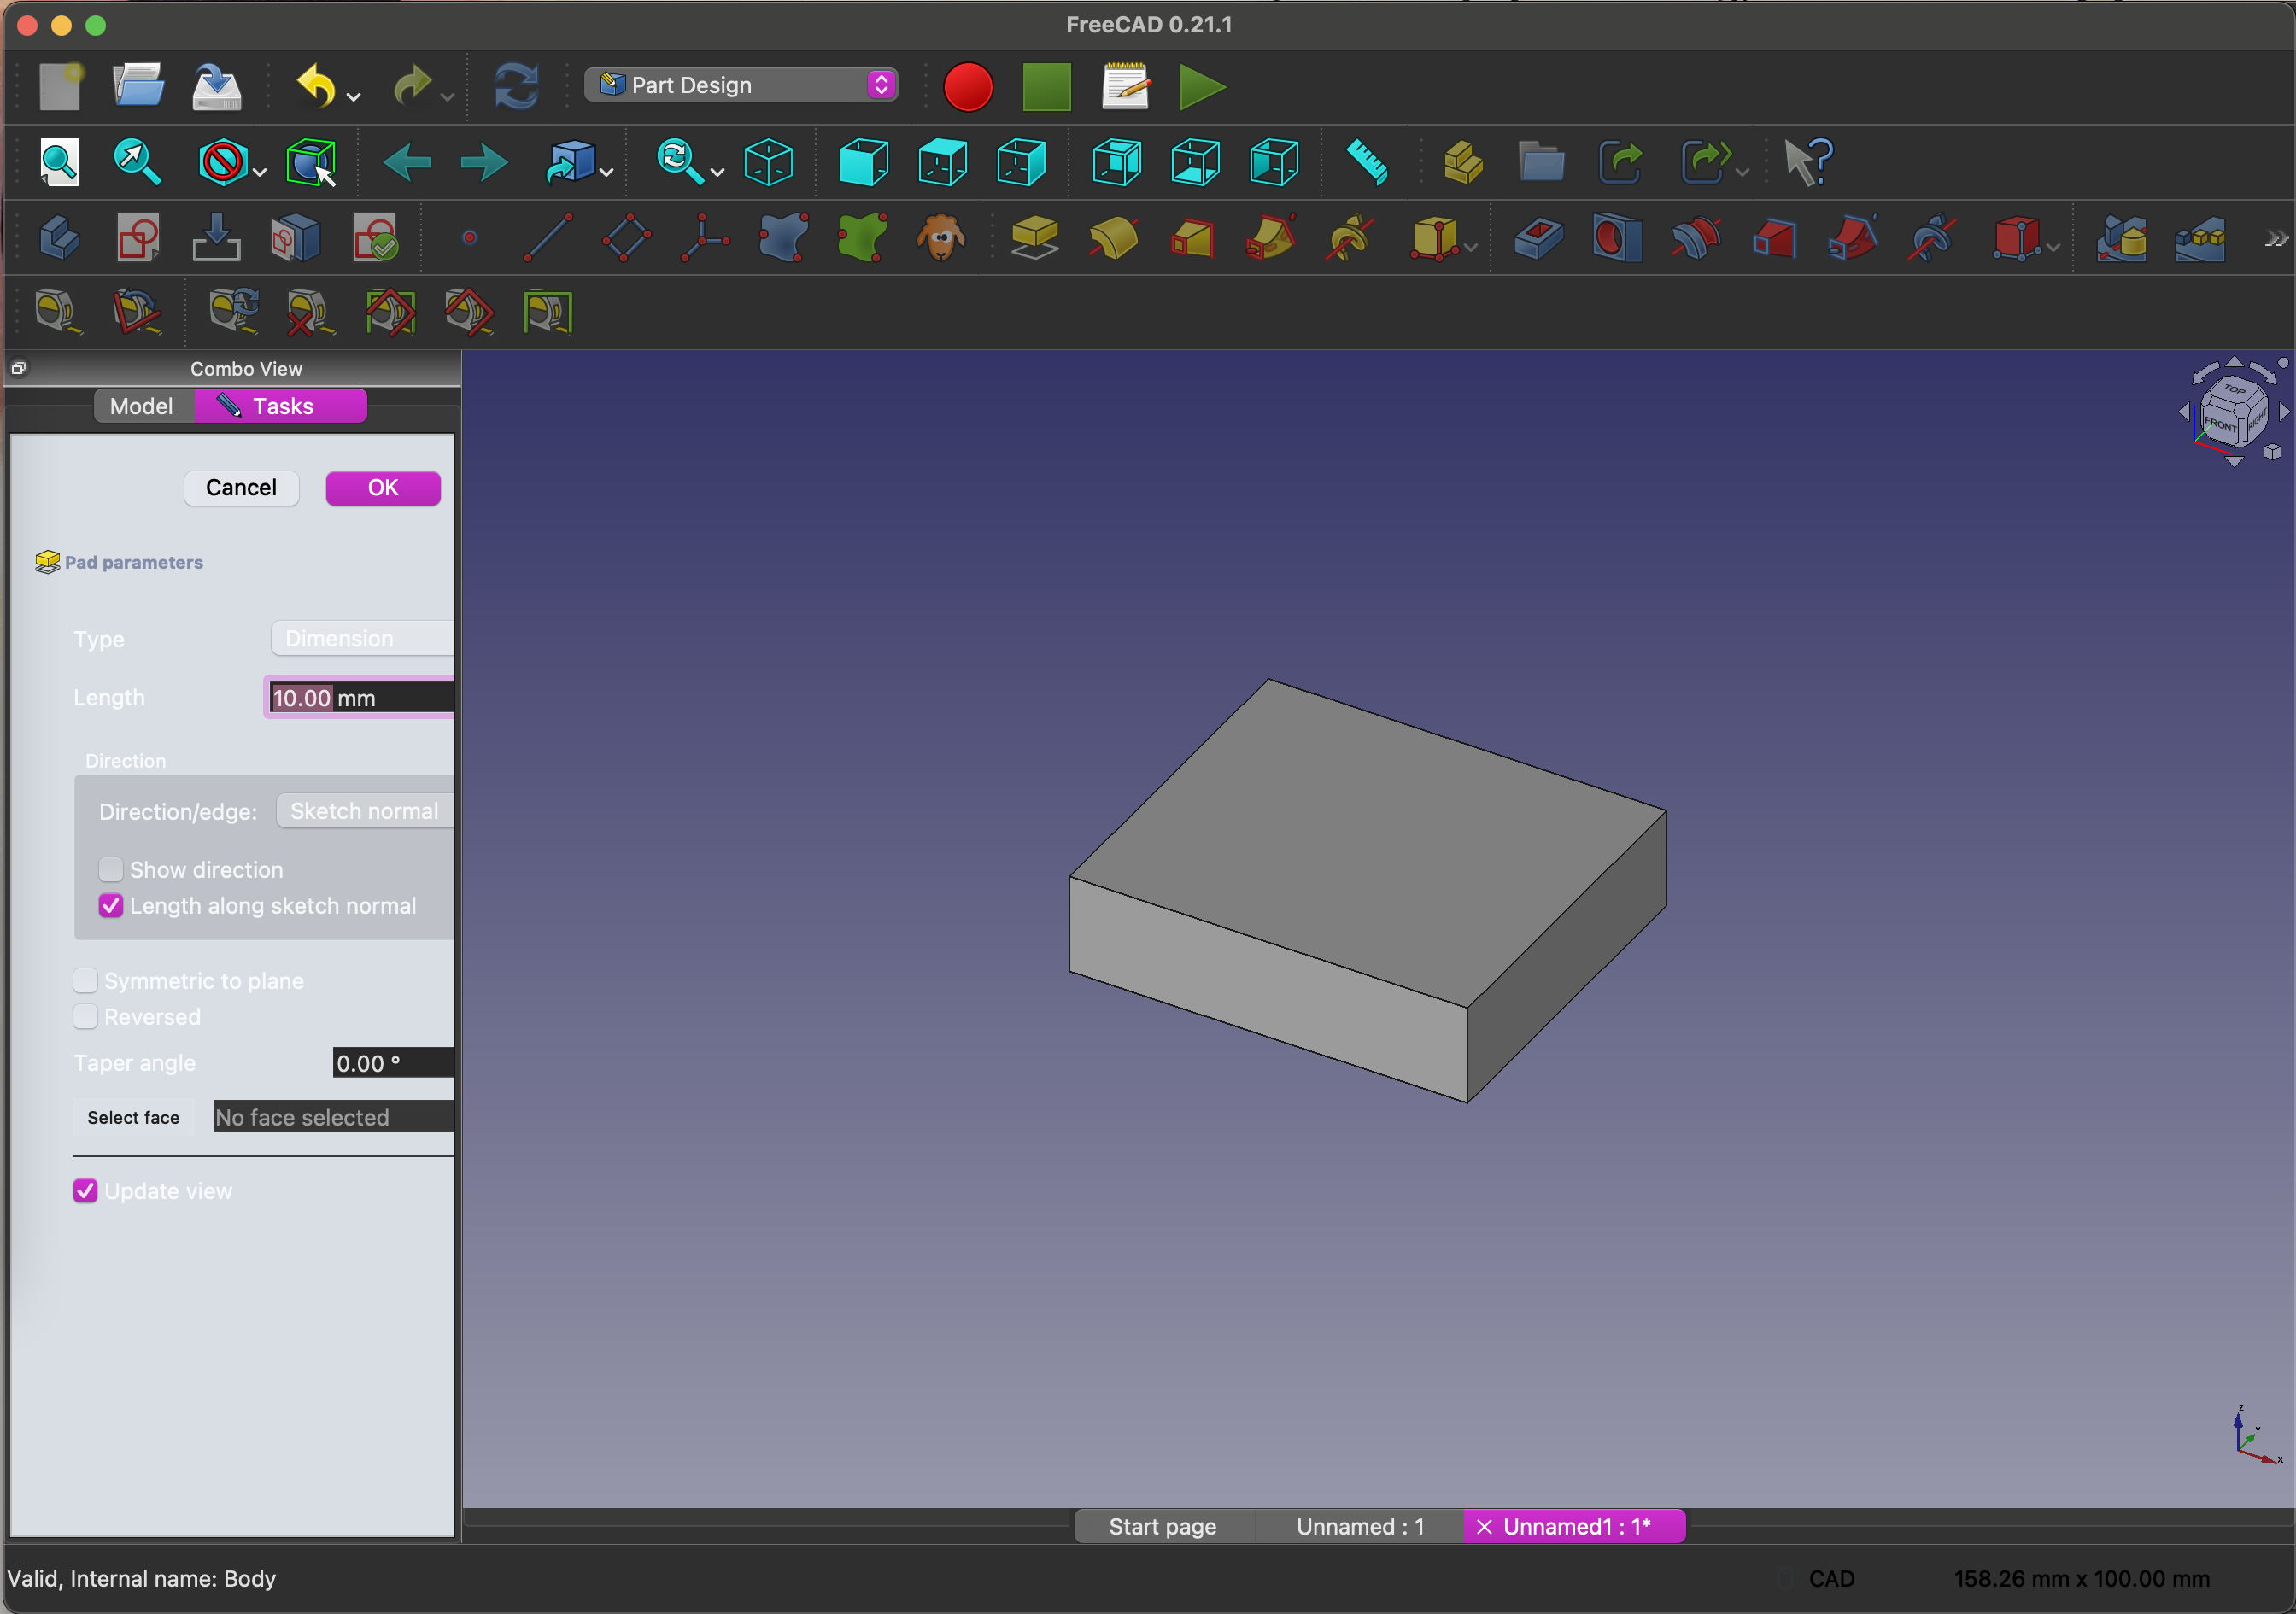
The pad tool gives me a 3 dimensional object.
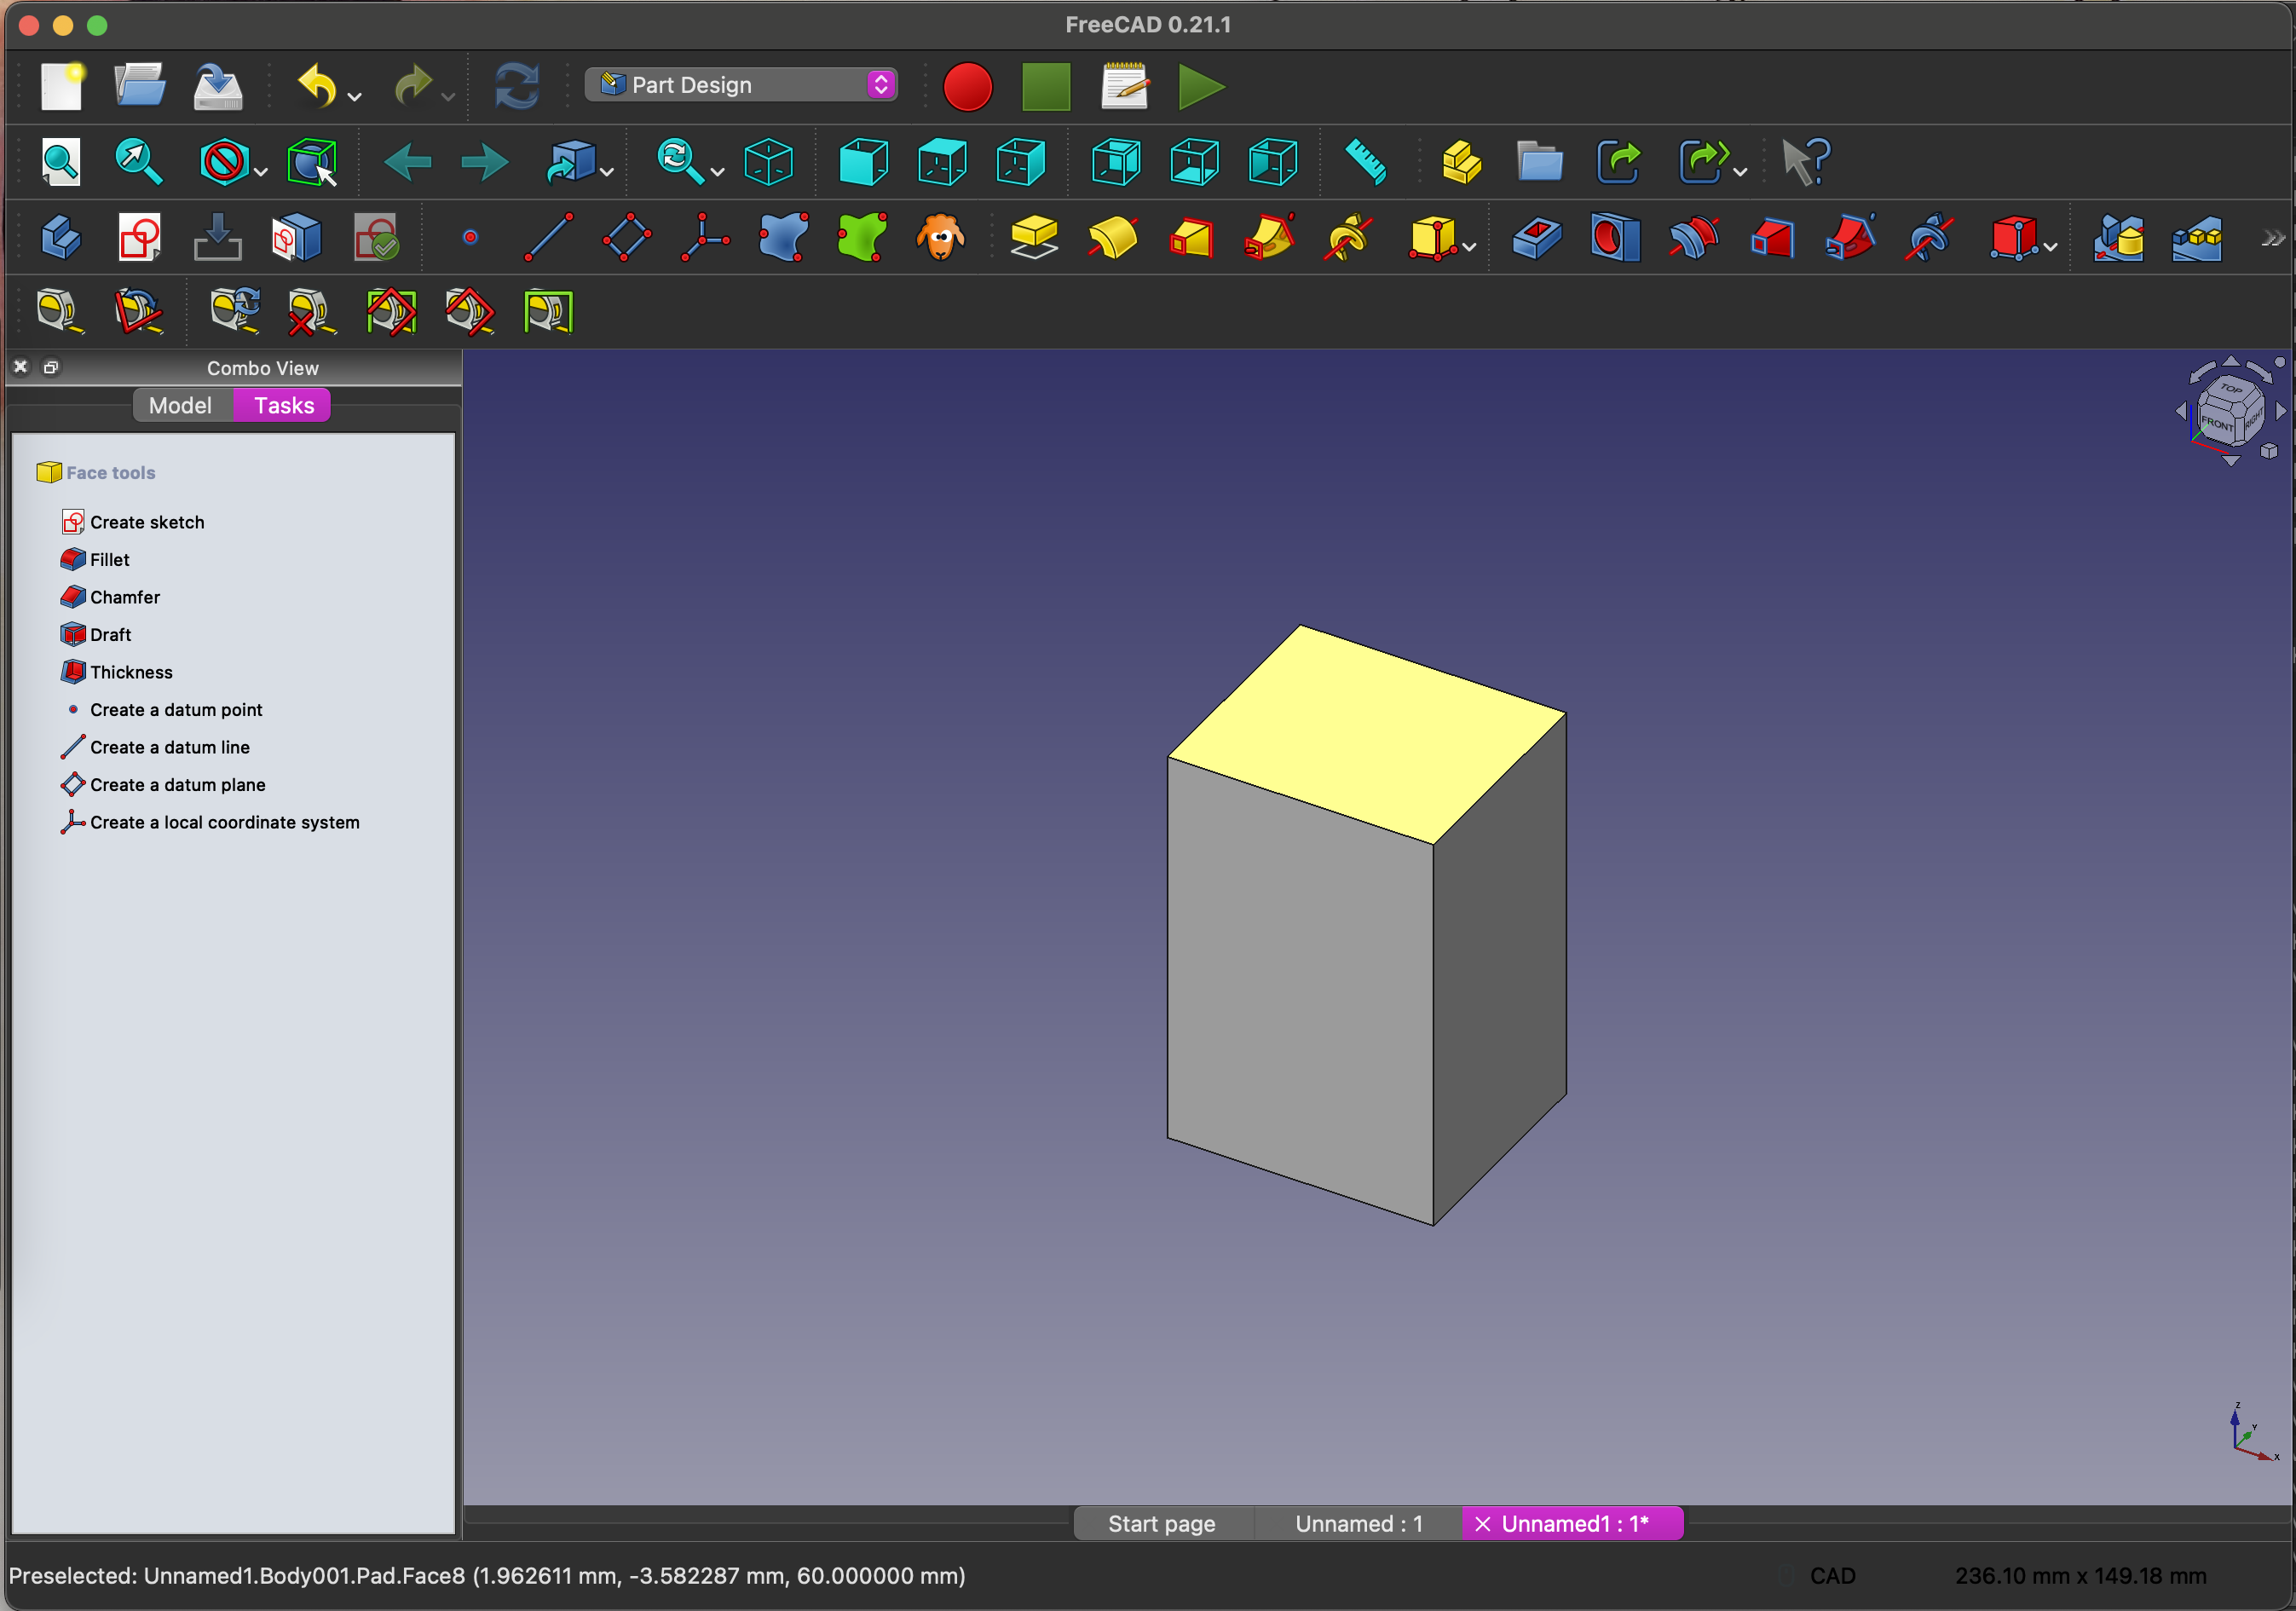
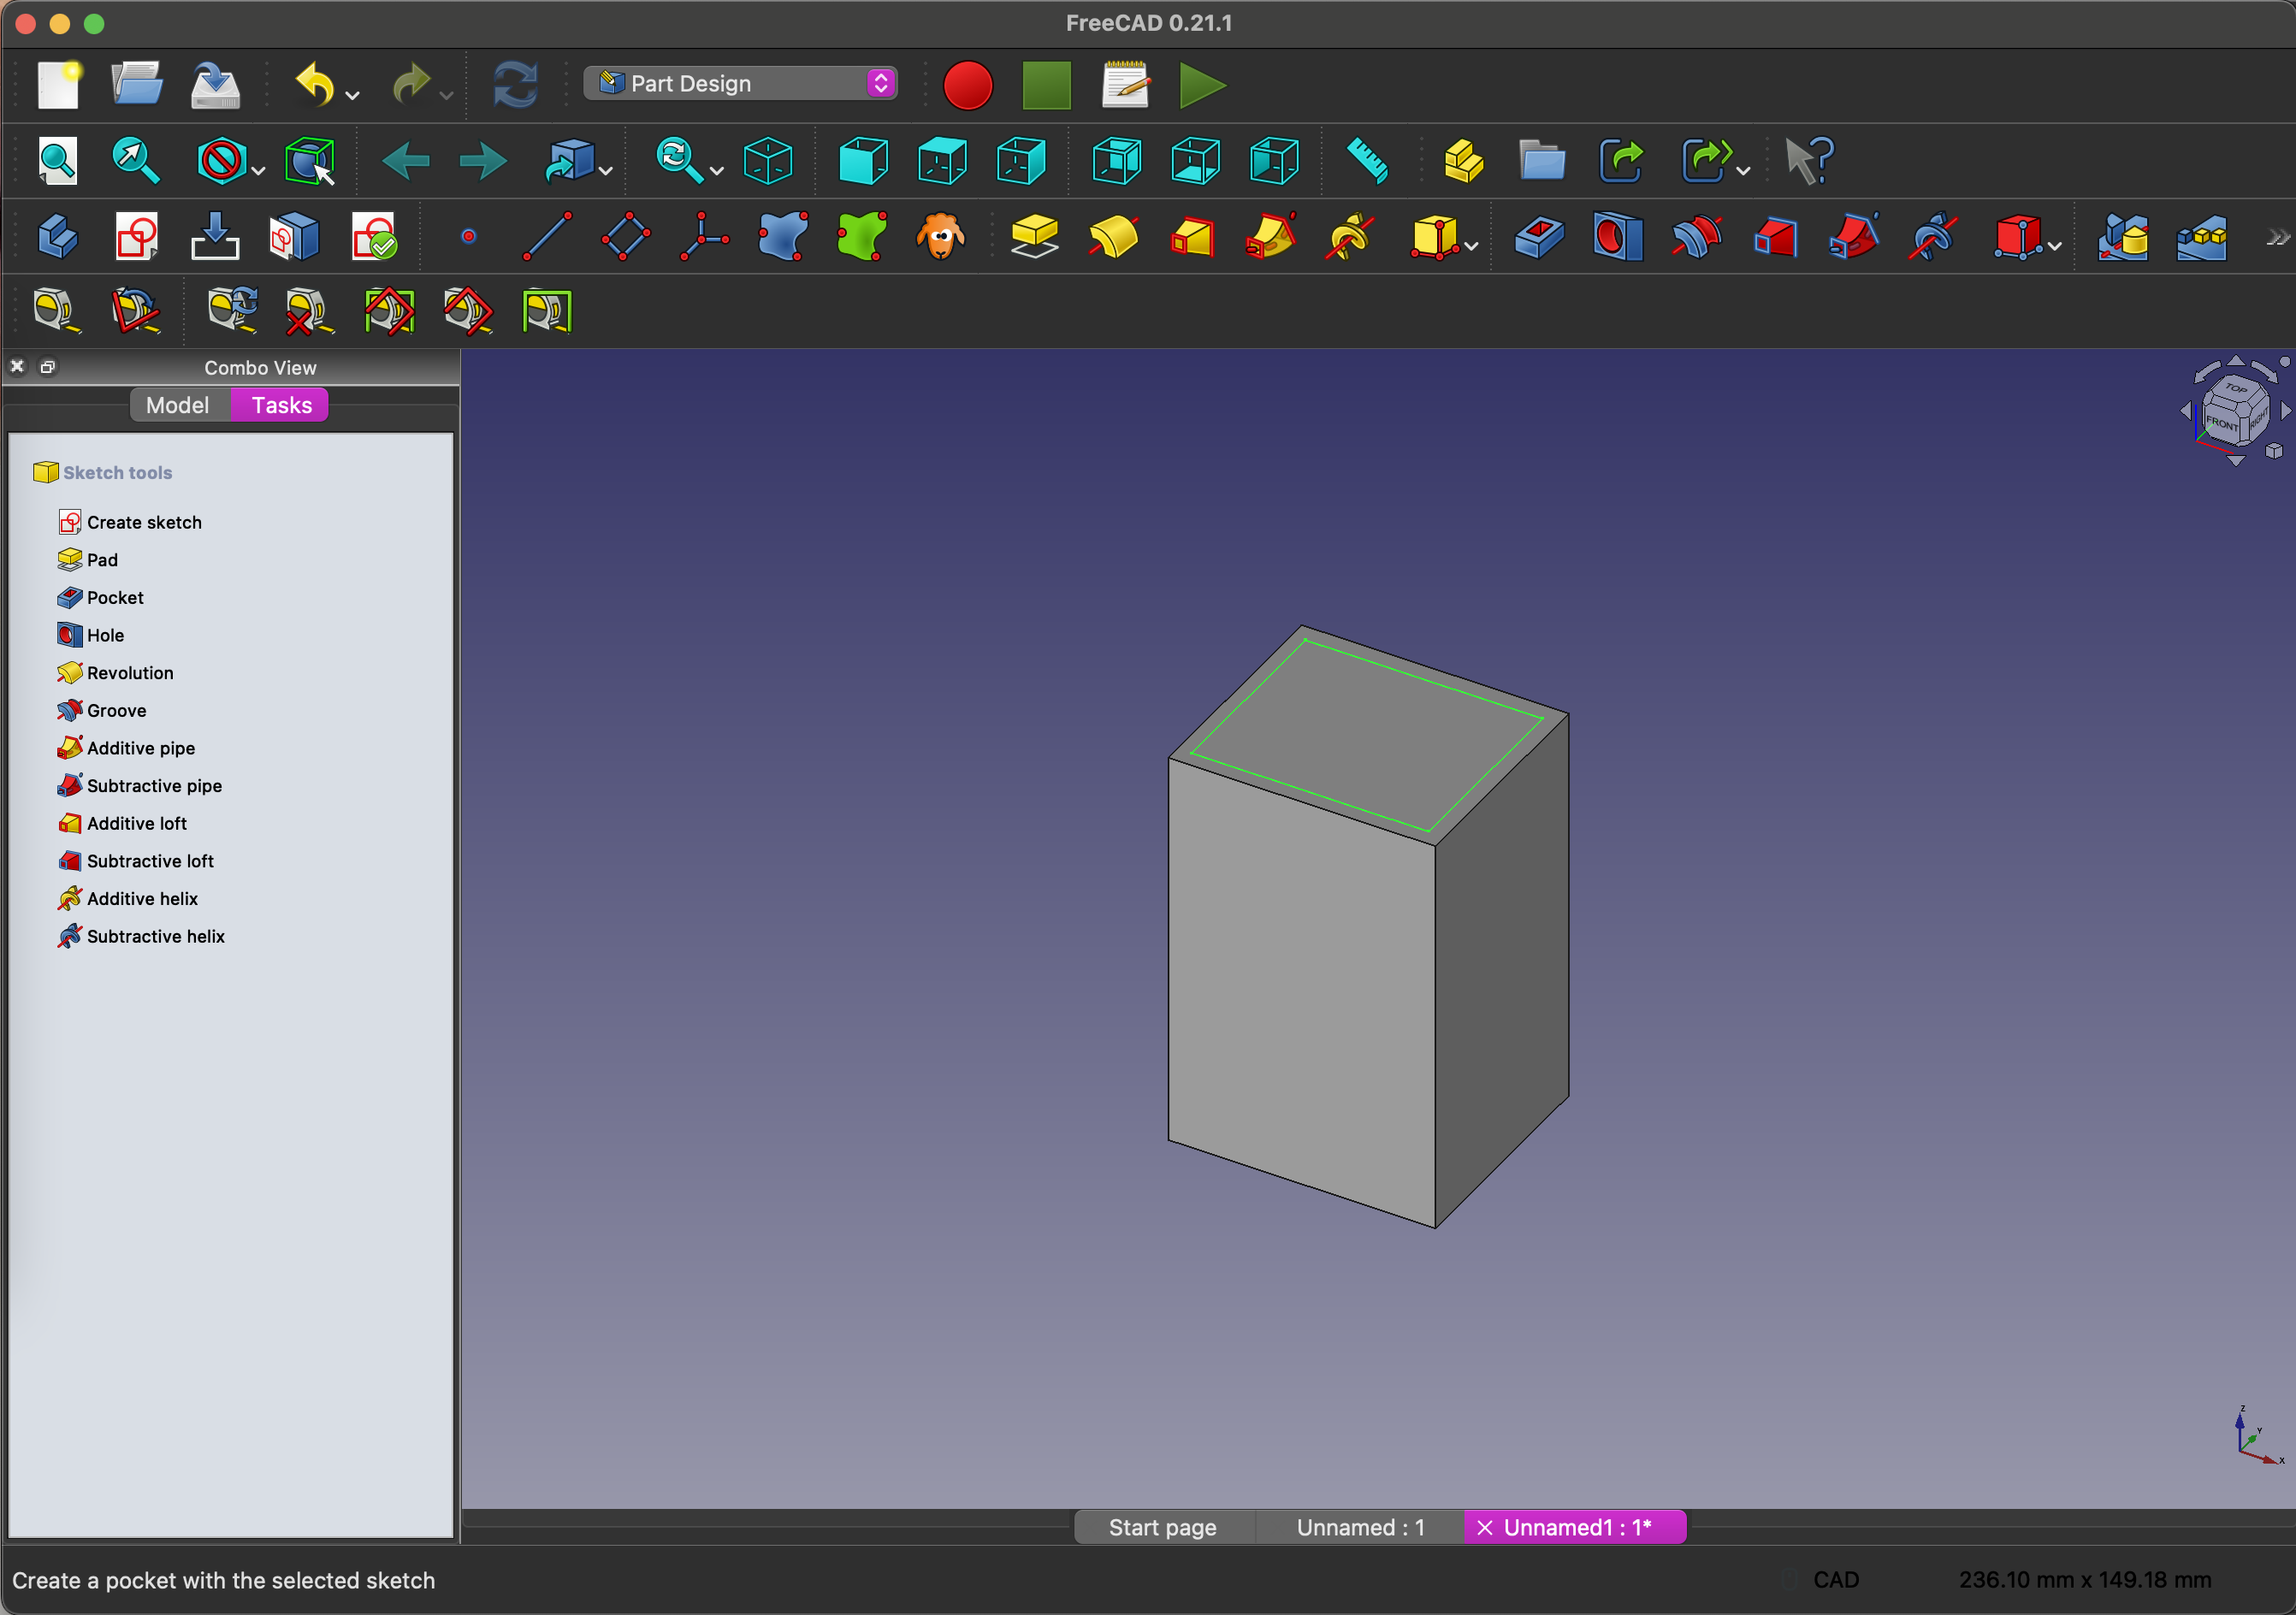
To make the box hollow, I am drawing a second sketch on the top of the initial 3D cube.
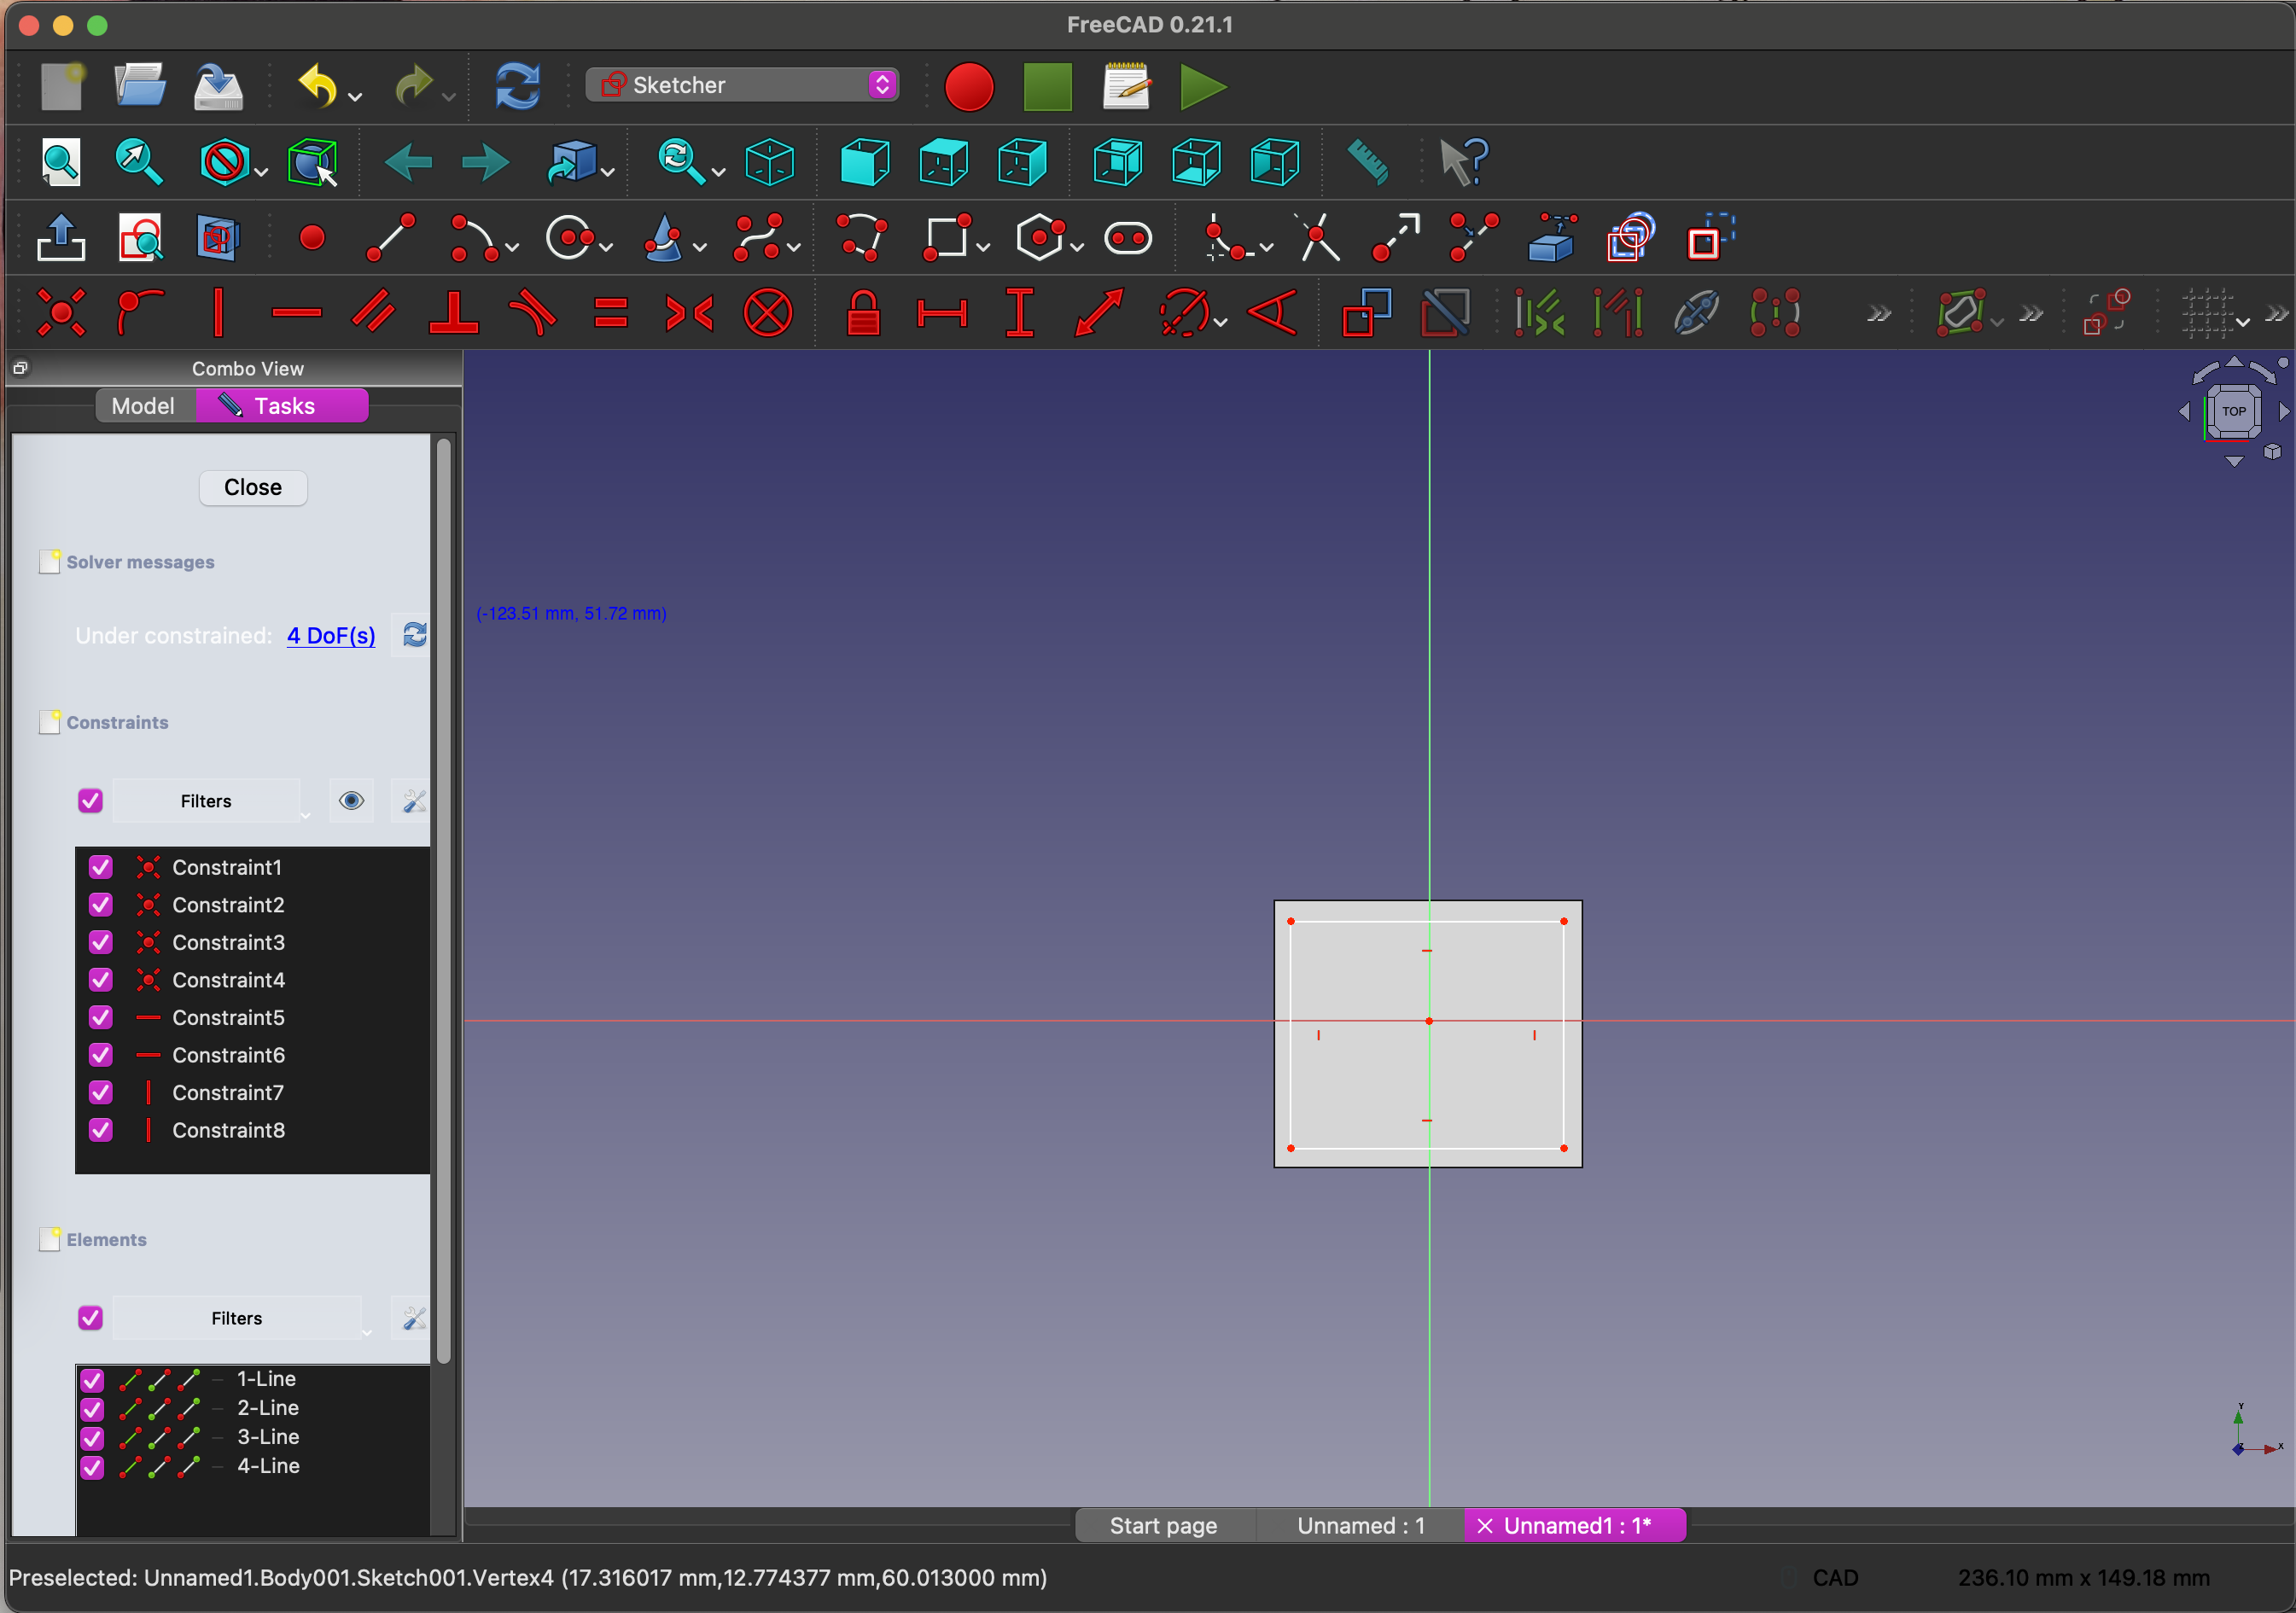
This is my sketched rectangle on the top of the box.
I then click ok to finish my sketch and use the pocket tool to create the hollowed shell.
Overall Opinion
When I initially completed this assignment, I used Onshape because it is used very often around my workplace and I knew my colleagues were vaguely familiar with it. A little whiles later I ended up trying FreeCAD. Initialy, I did not think I would enjoy it very much. The setup was confusing and I didn't know where to find anything. After playing around in the program for a little while I started to get the ang of it a little more but I still would not say it is my favorite.
In my opinion, Onshape is my favorite. I think it is easy to use, looks nice, the set up is easy to follow, you get a description of the tools if you hover over them, and there and free tutorials you can follow directly in Onshape.